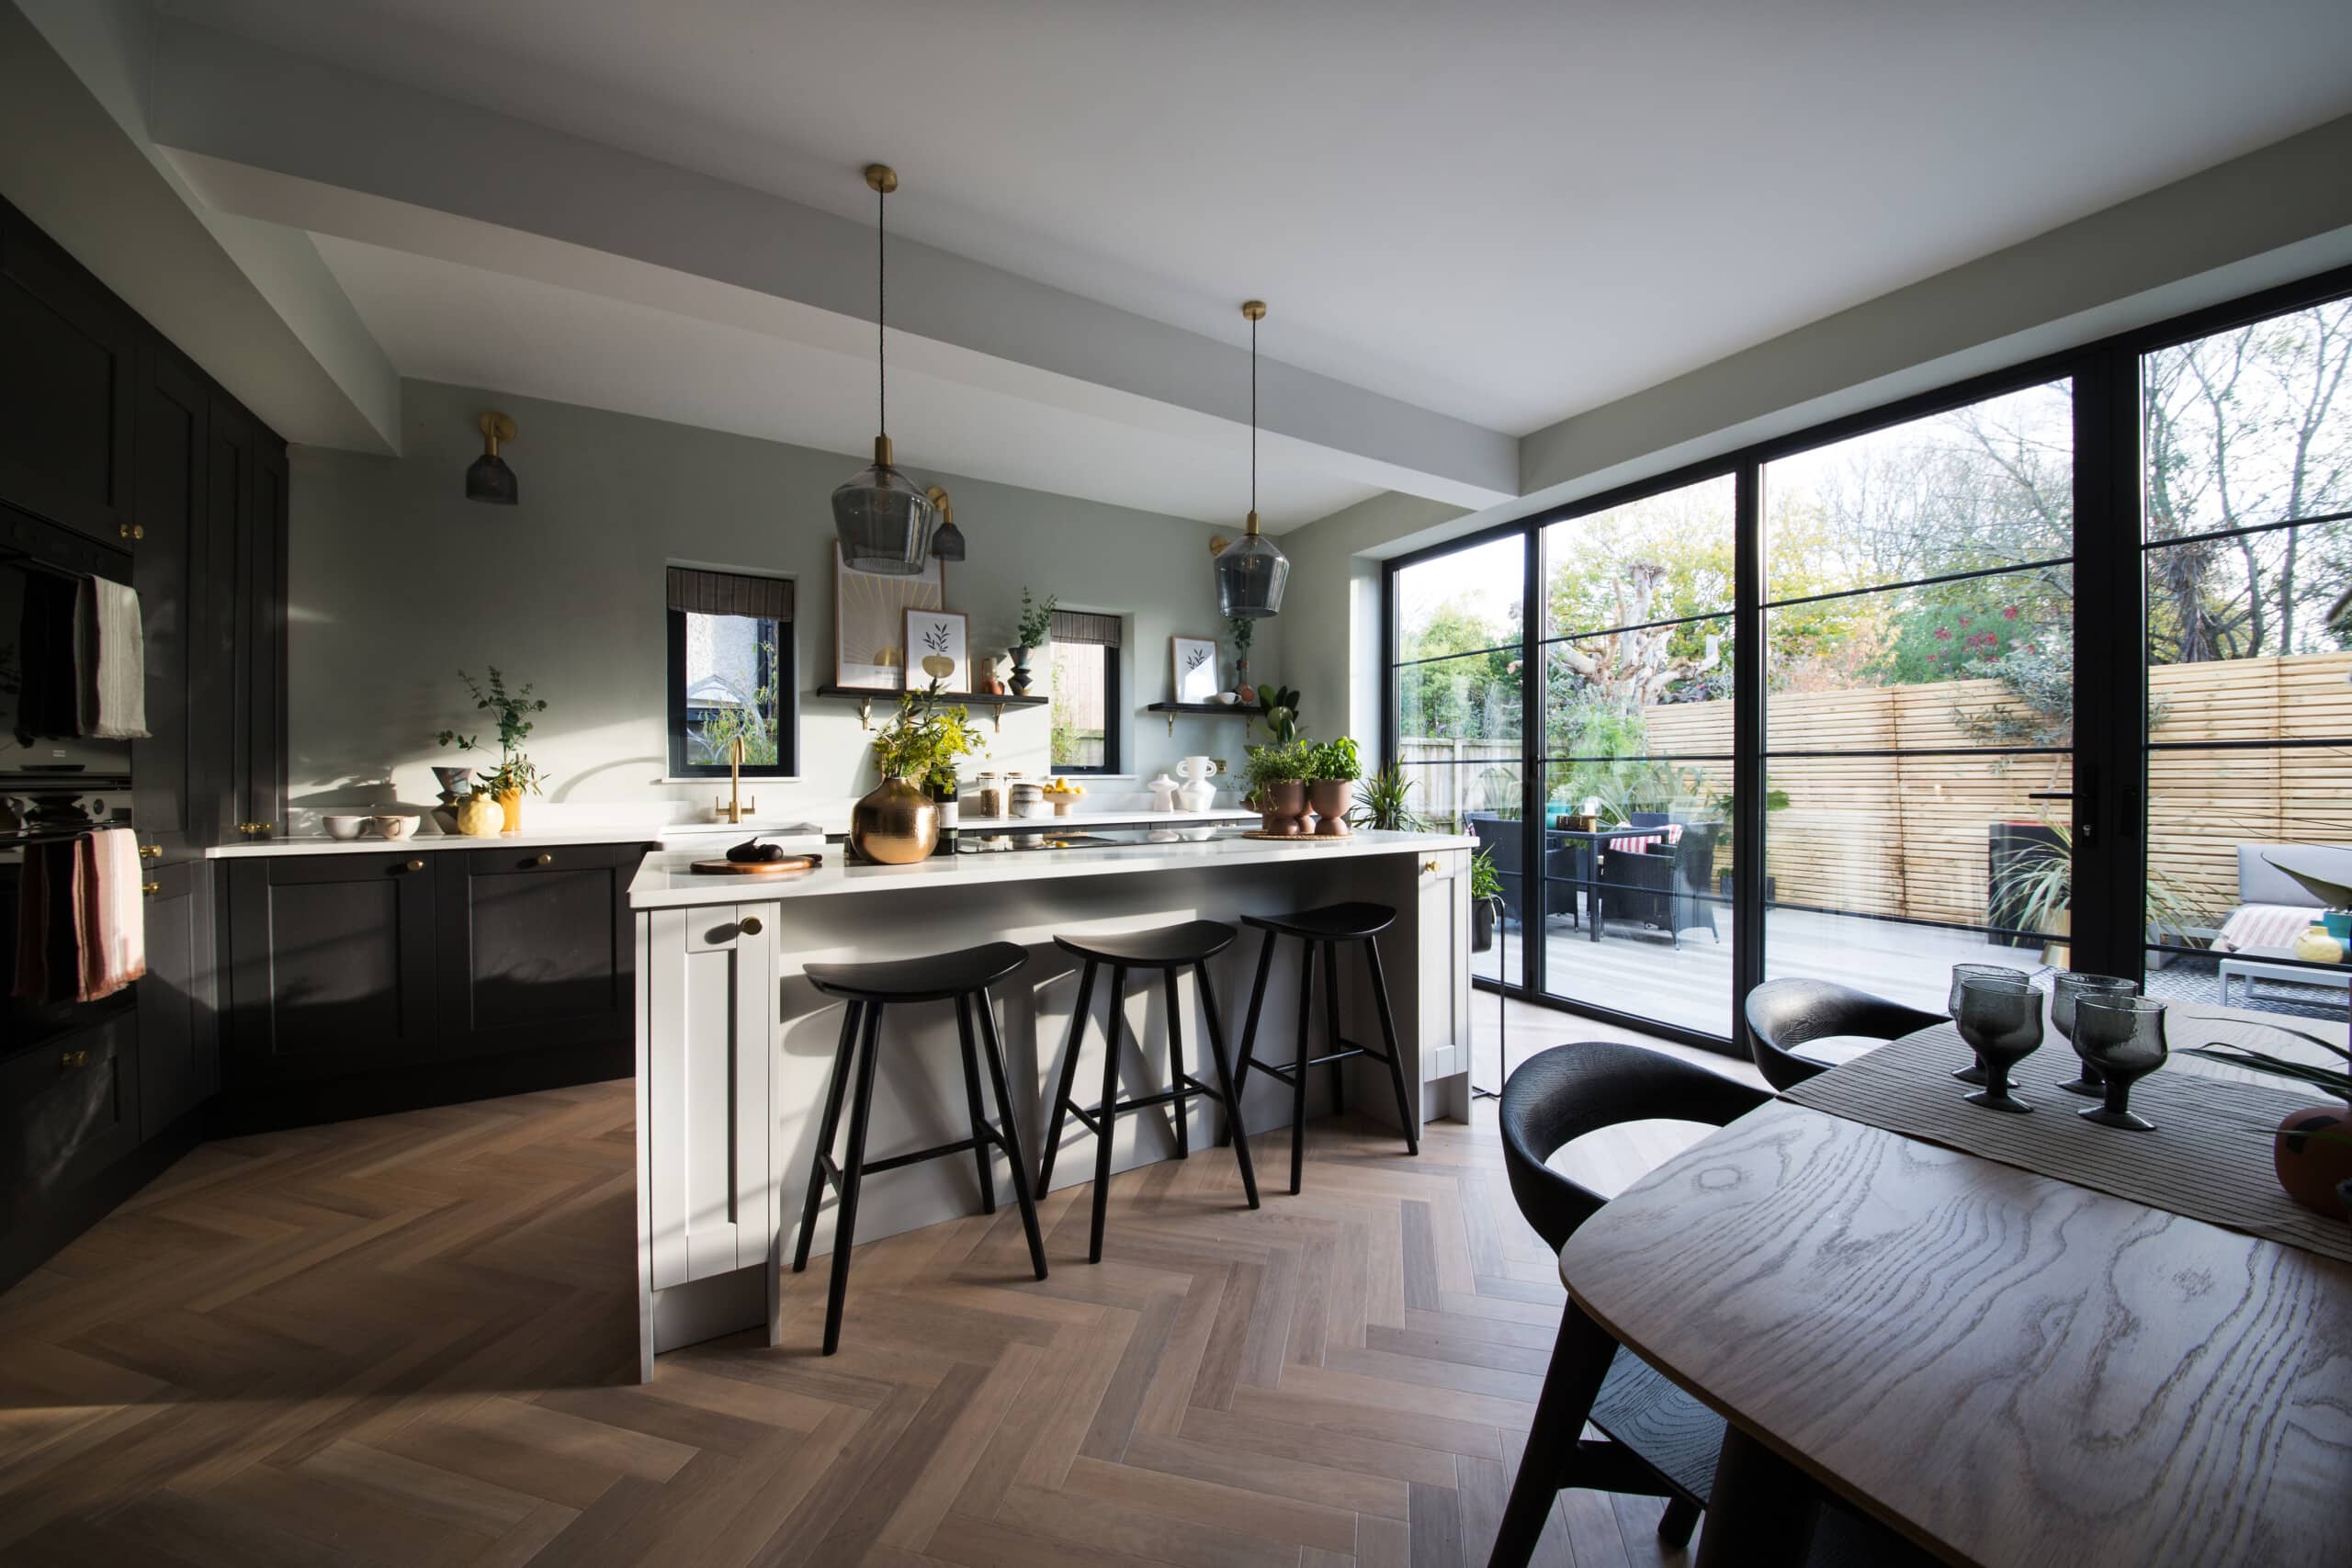
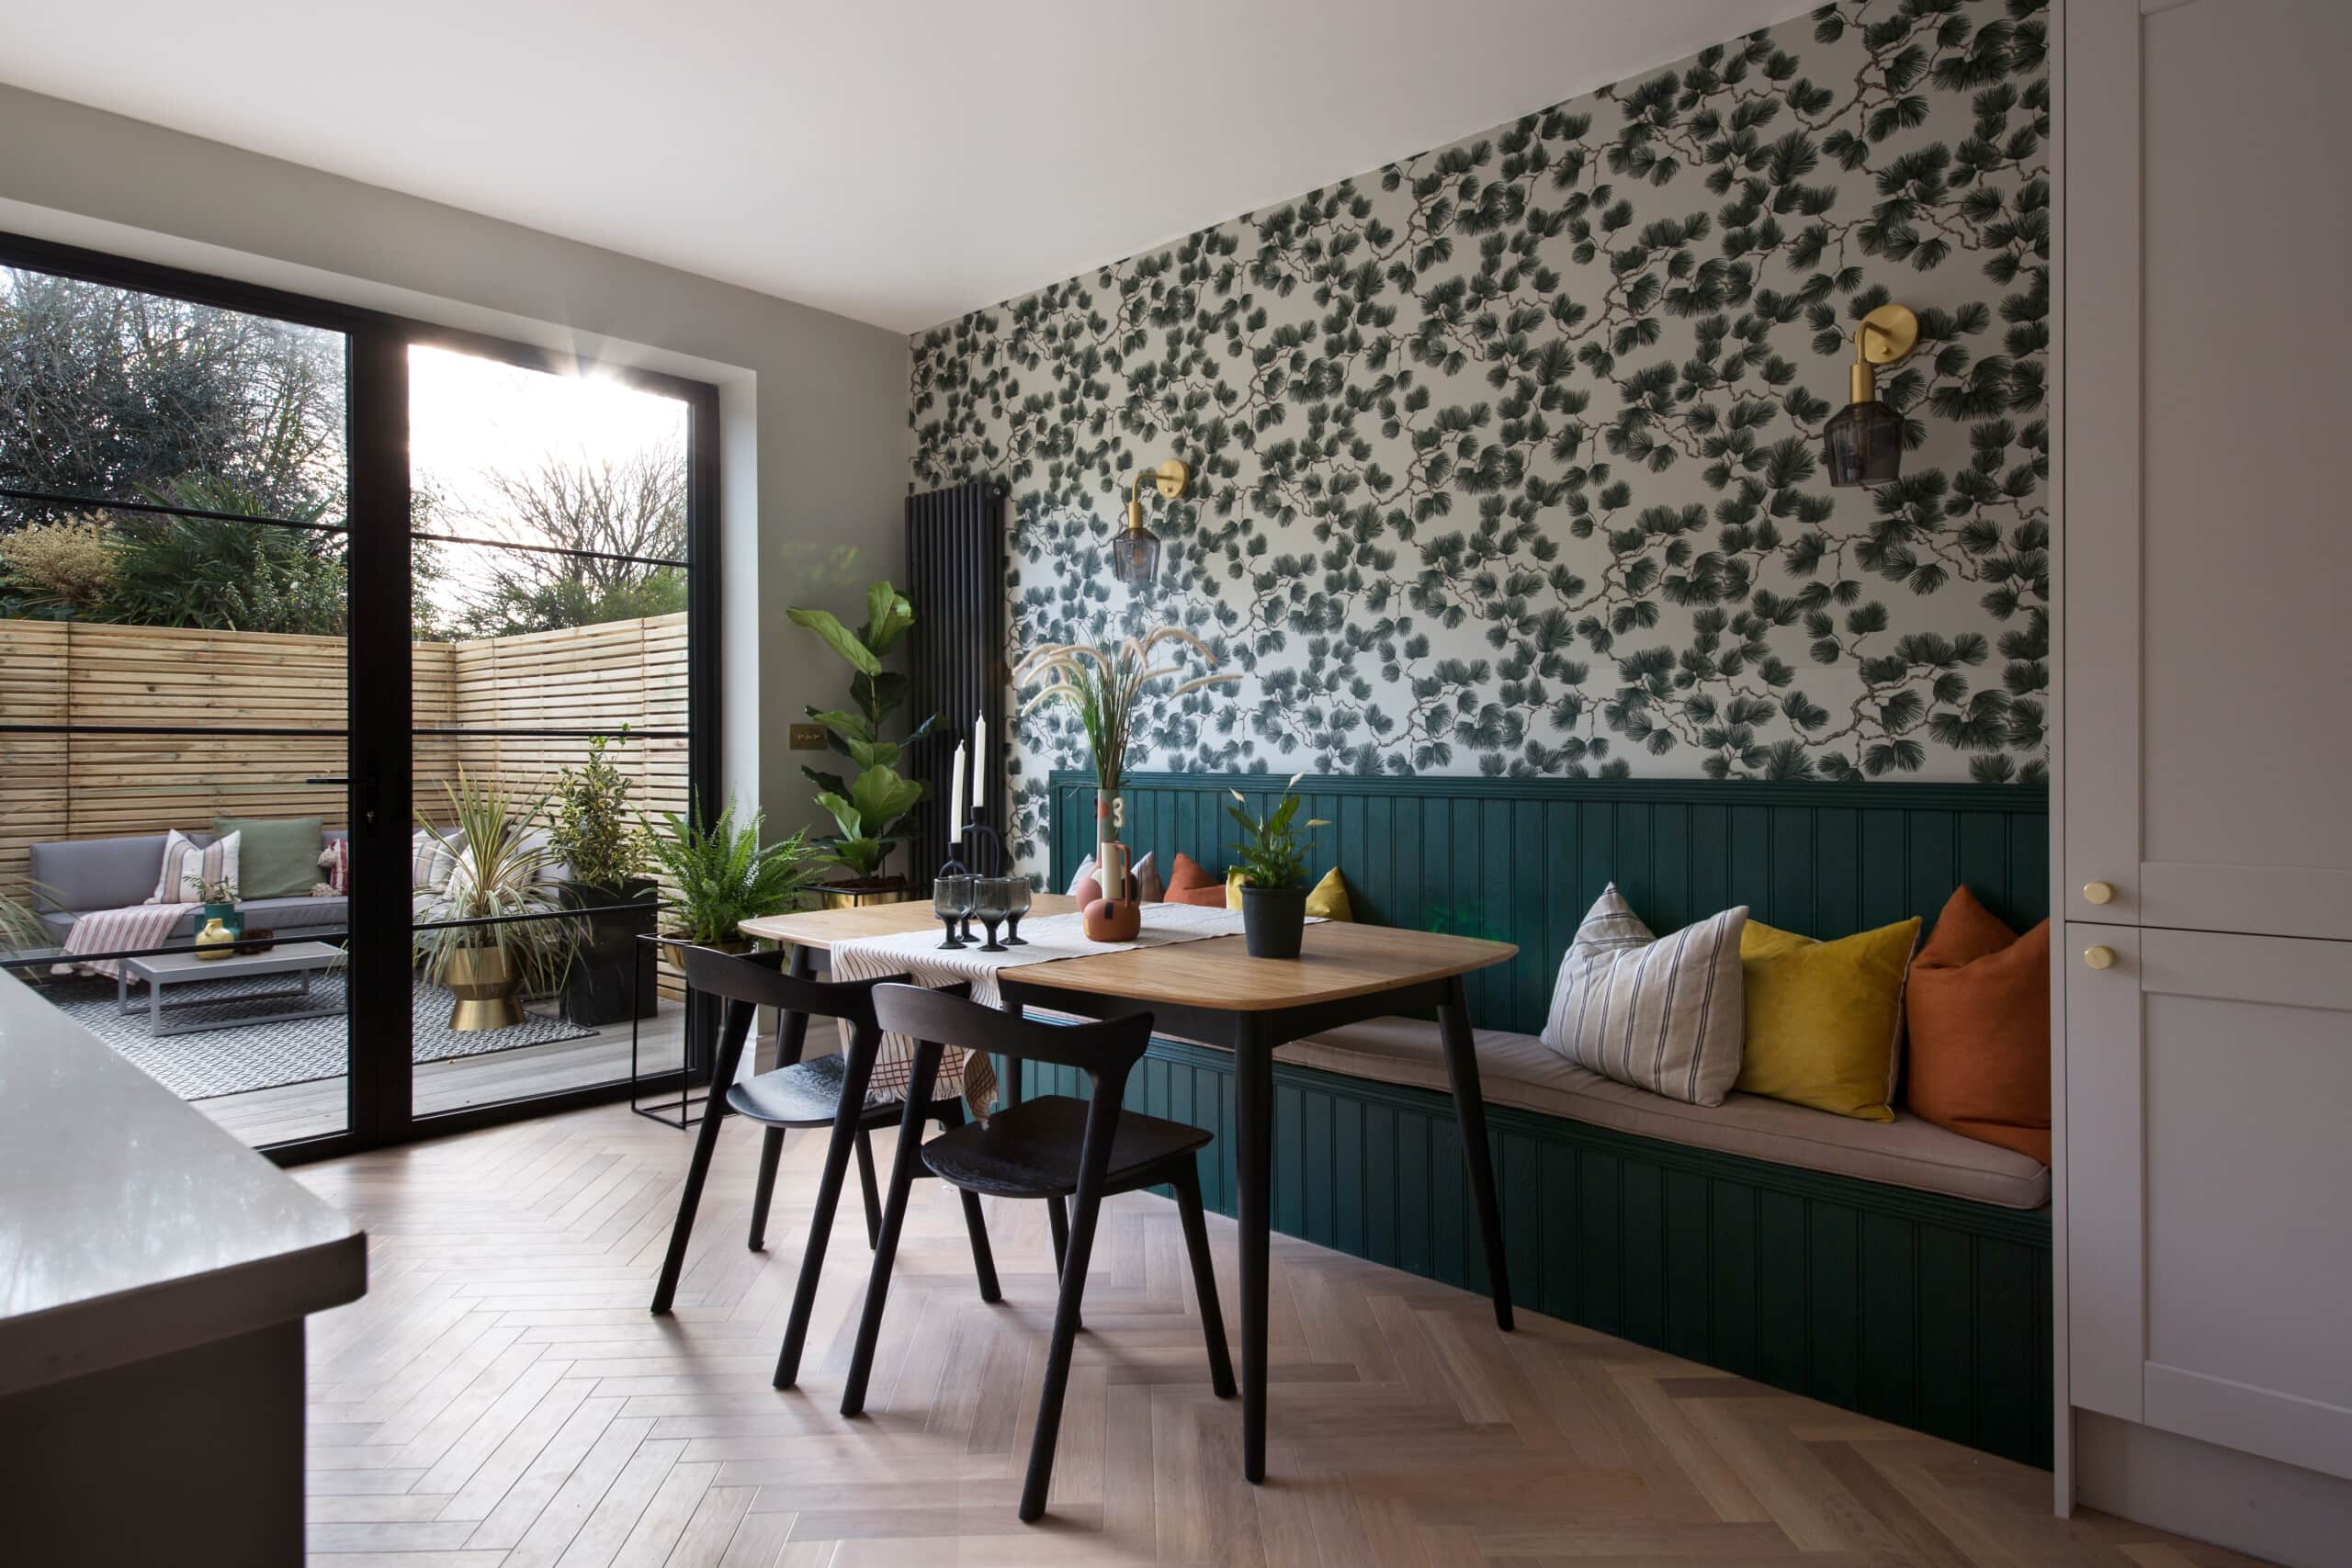
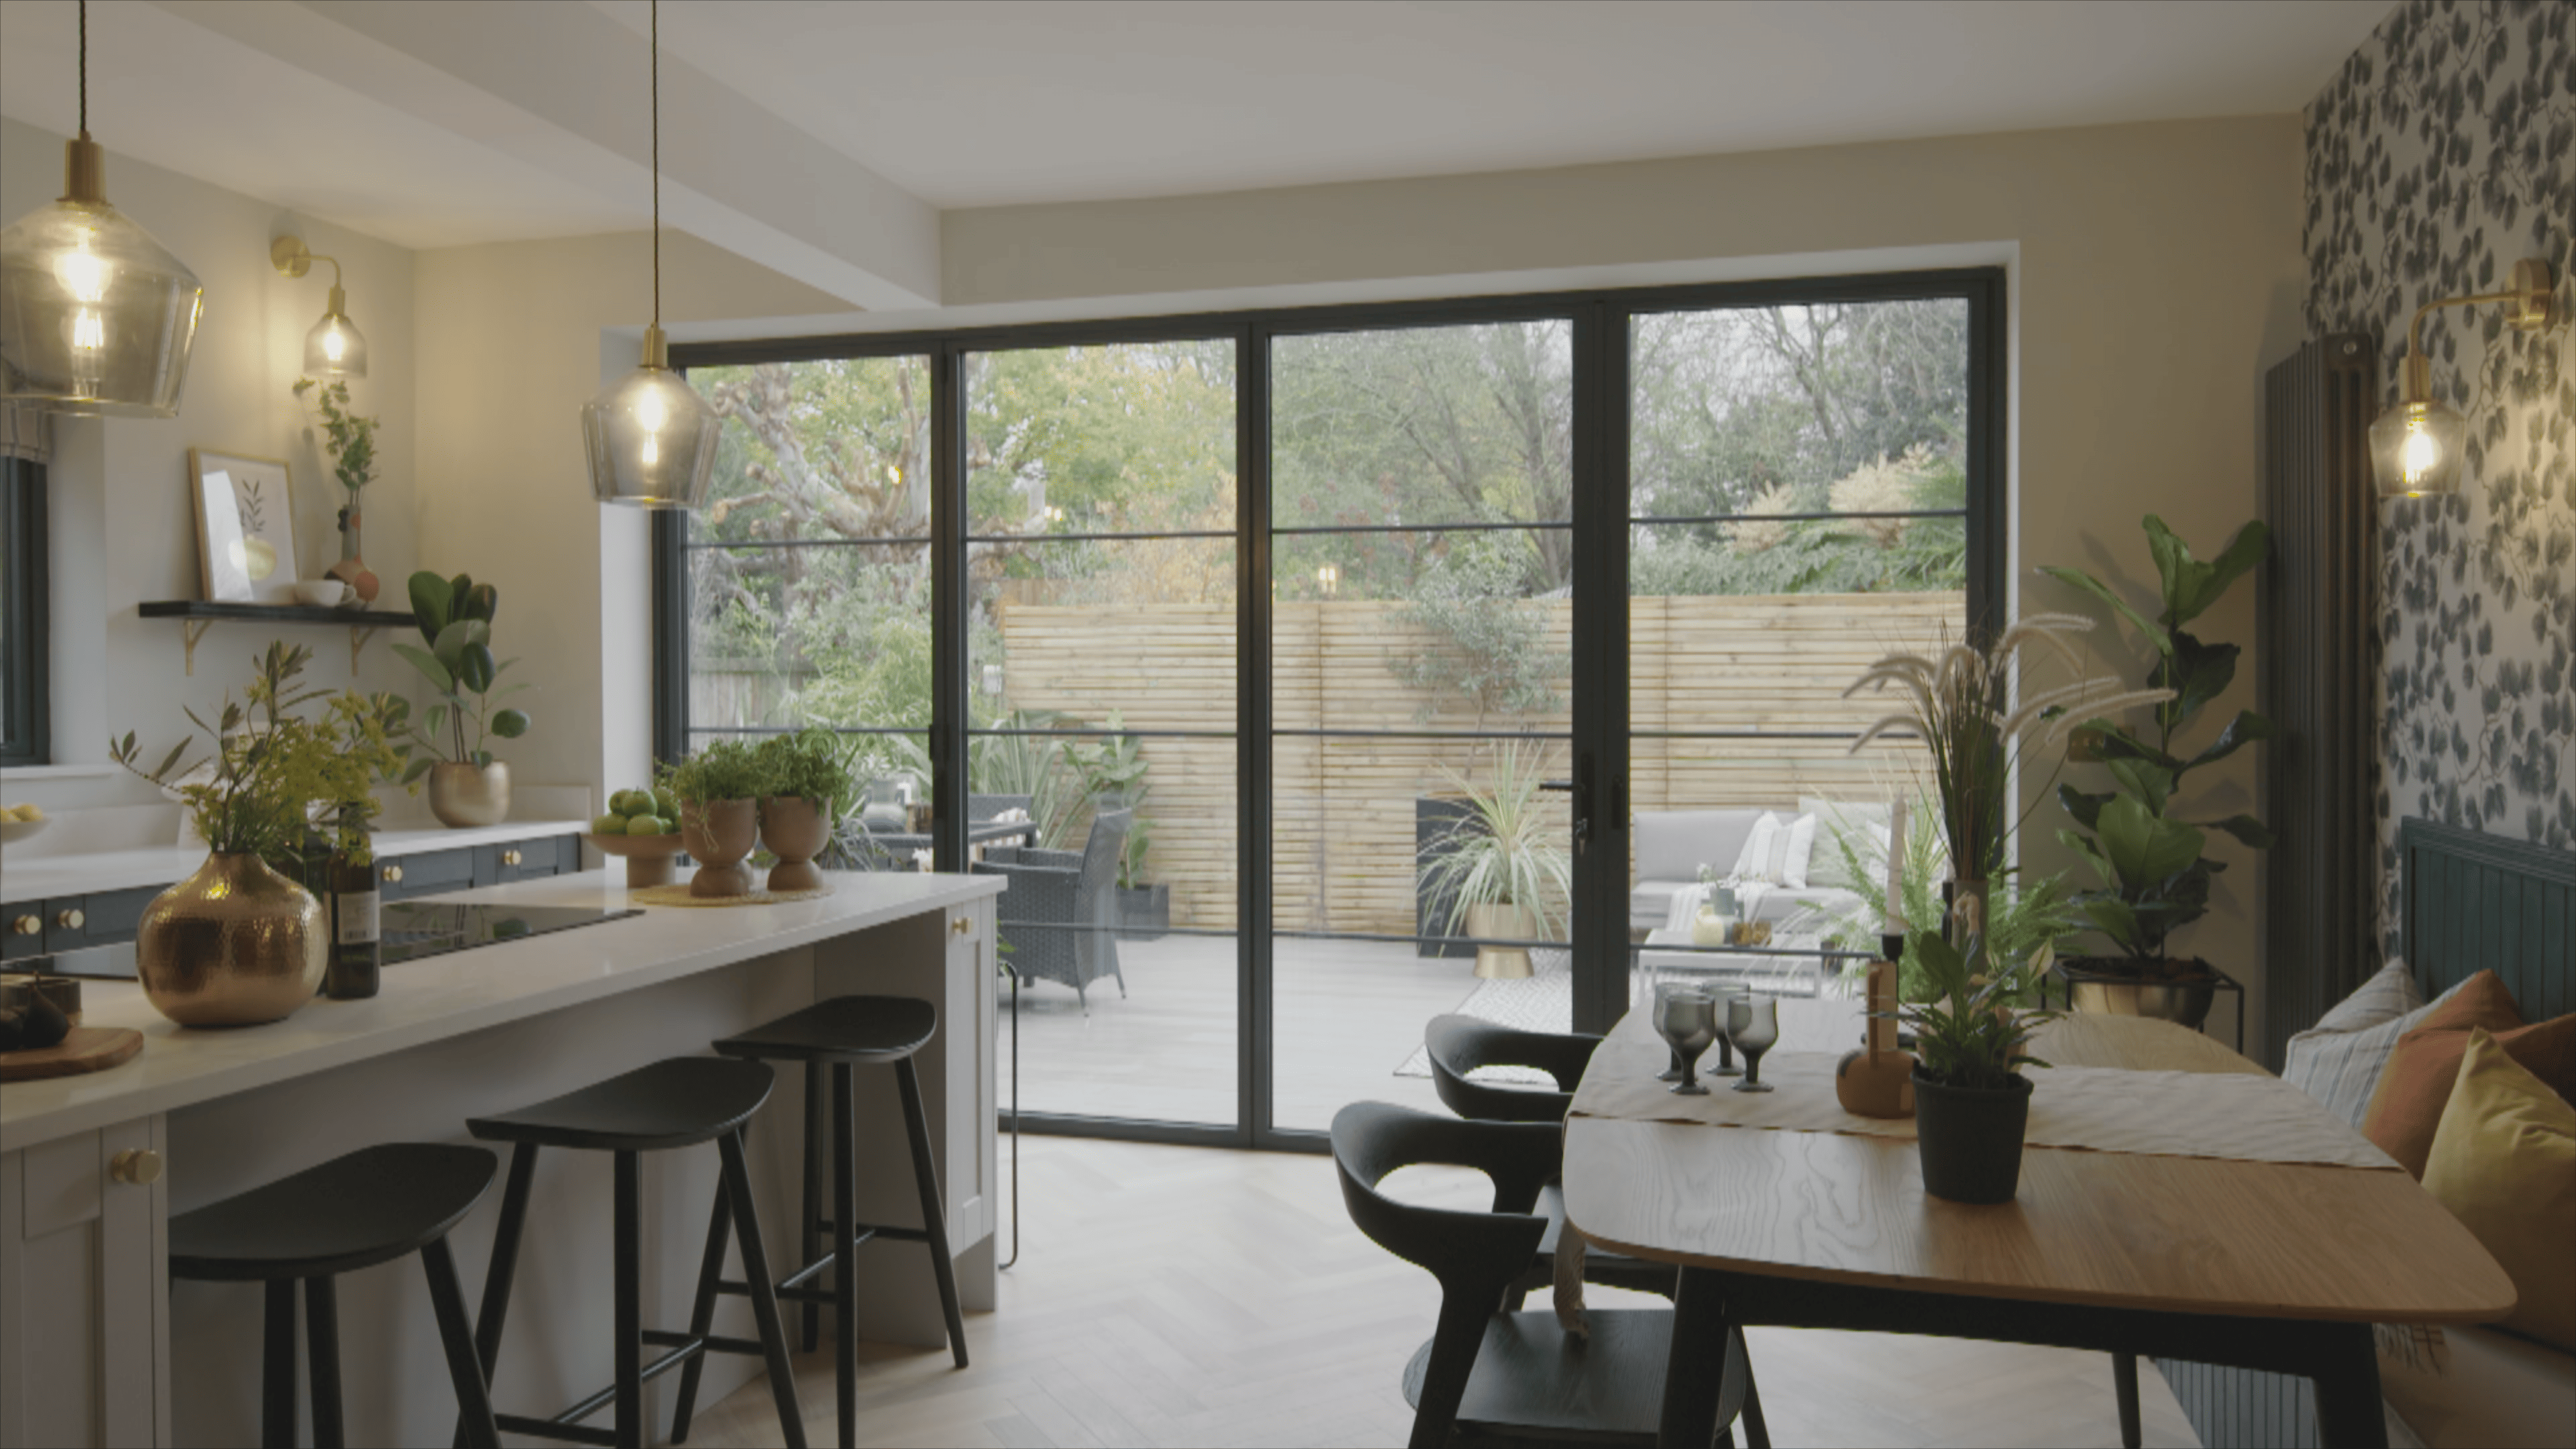
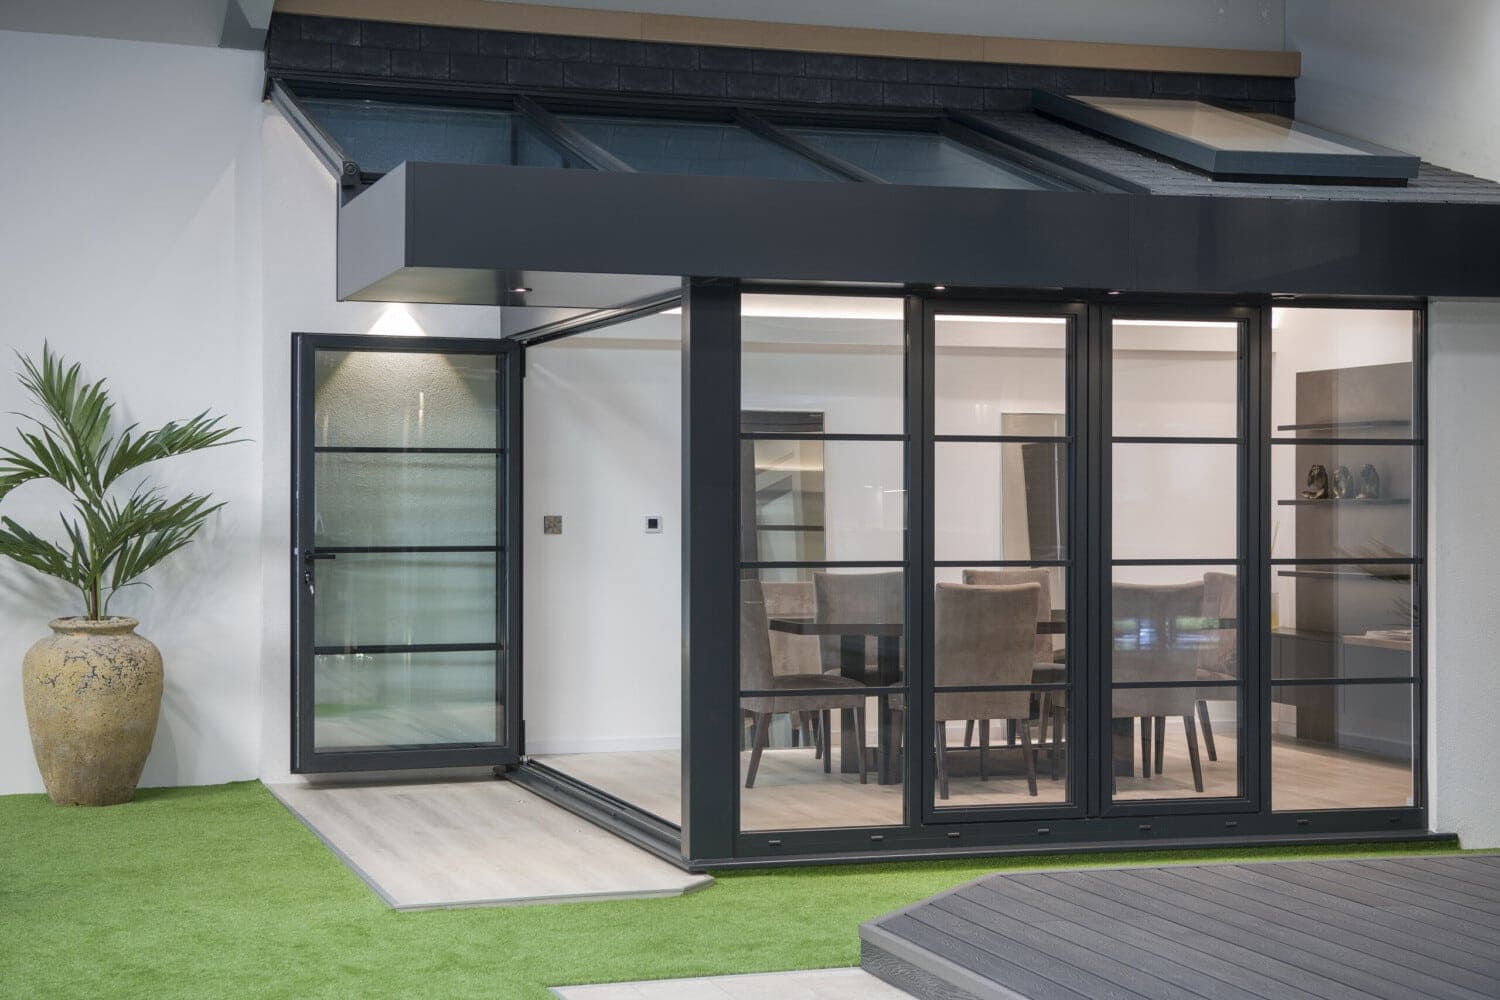
XP10 Steel Look – 5 panel – Bi-Folding Door
From: £3,545.06
THREE, FOUR & SIX PANEL STEEL LOOK BIFOLDS IN STOCK & READY FOR EXPRESS DELIVERY
We have pre-made stock of three panel bi-folding doors at 2200mm wide to 3000mm wide, plus two additional sizes of four and six panel bi-folding doors. Order your steel look bi-folding doors in these sizes with standard glass & we’ll deliver to you within just a few working days. All sizes outside of our pre-made stock will be manufactured when ordered with a typical delivery time of four weeks.
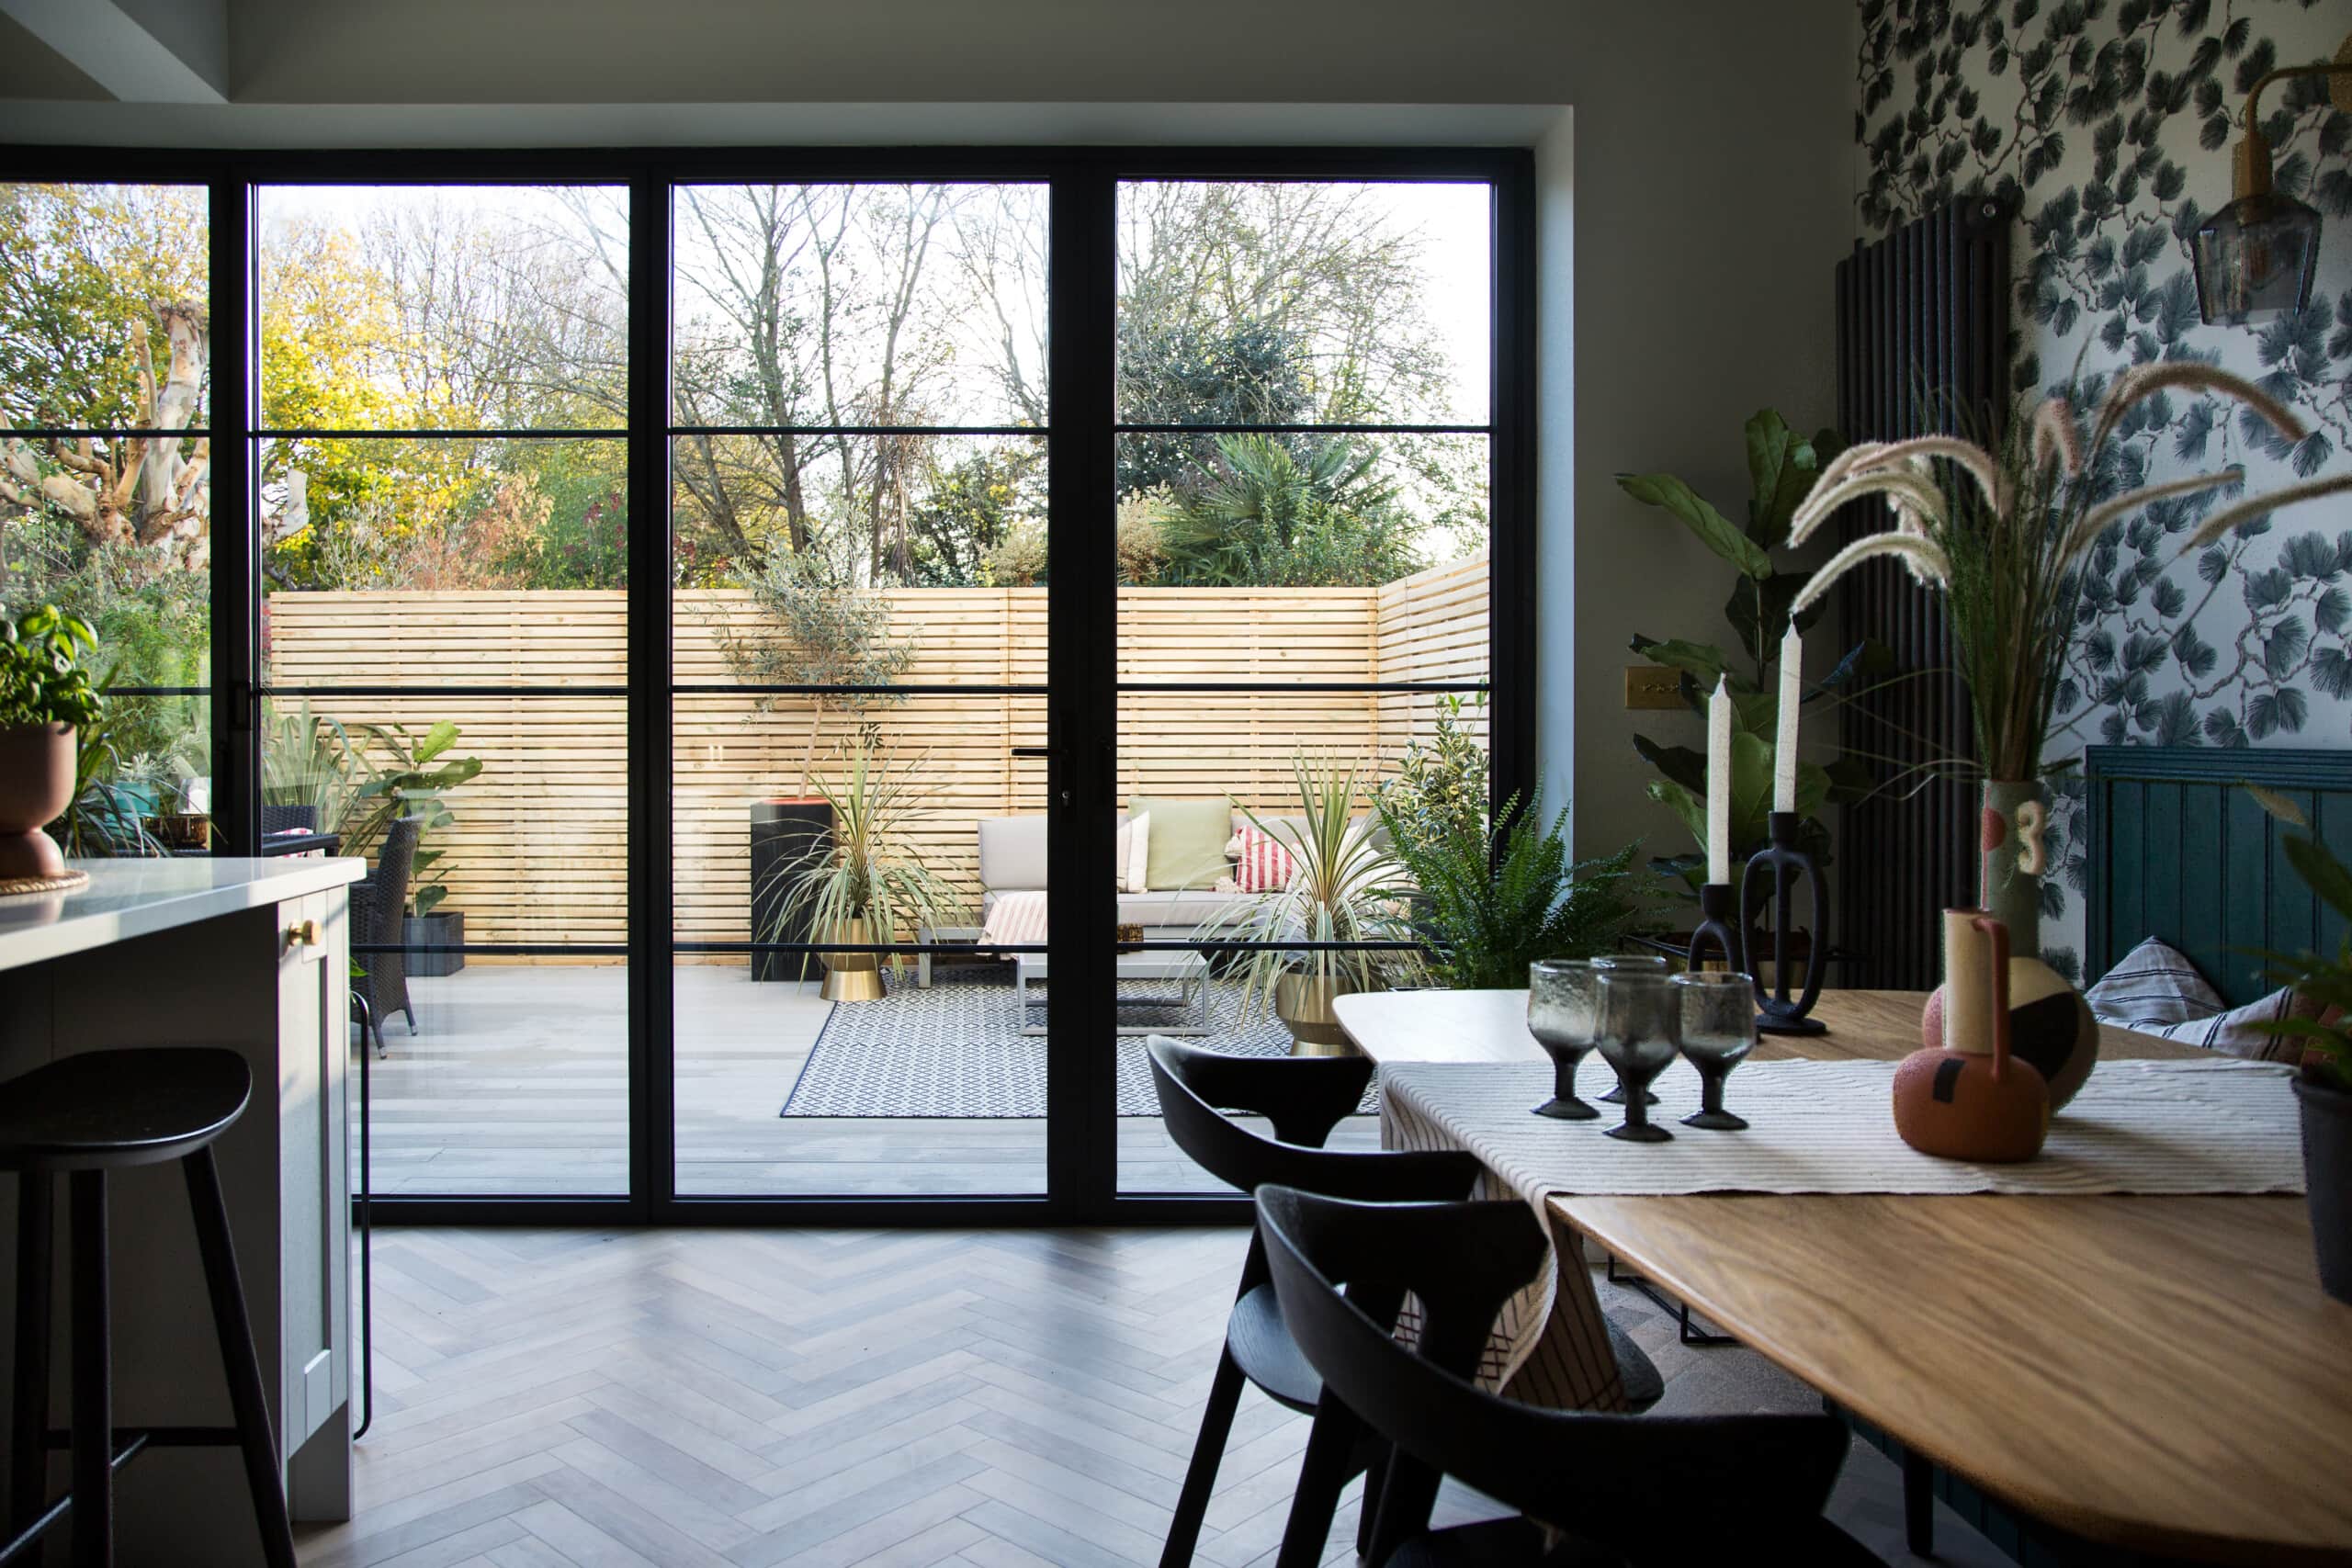
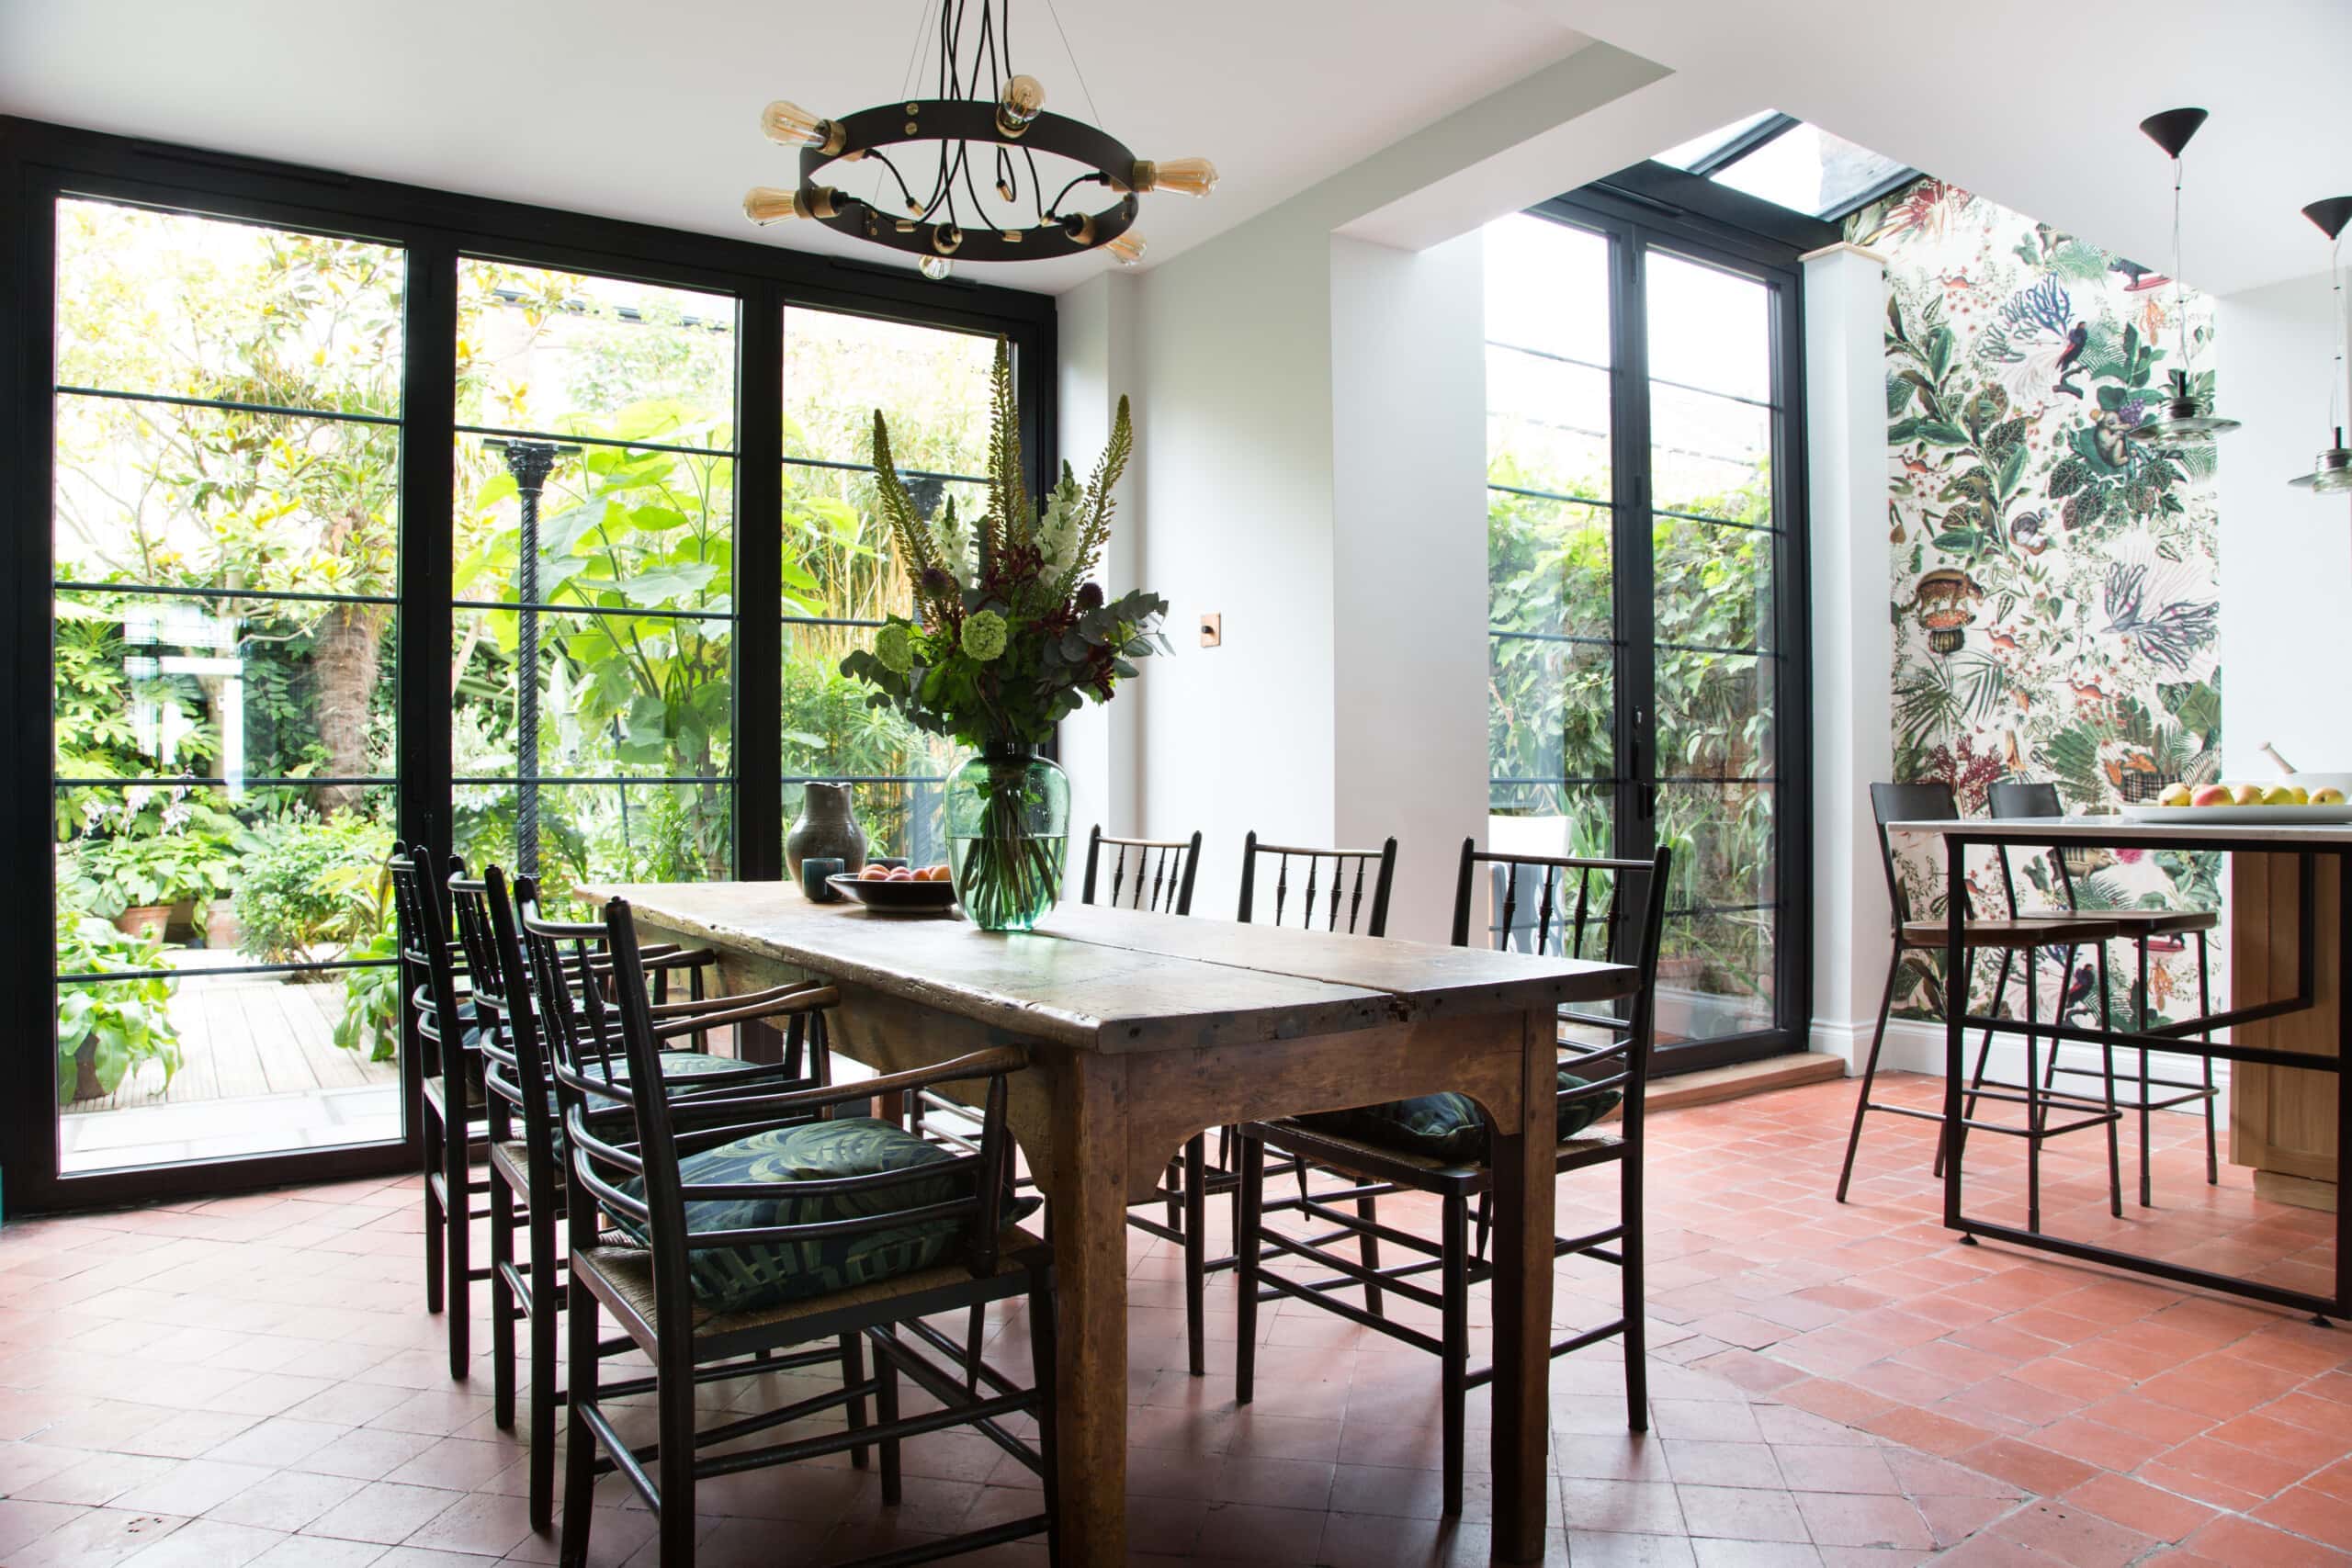
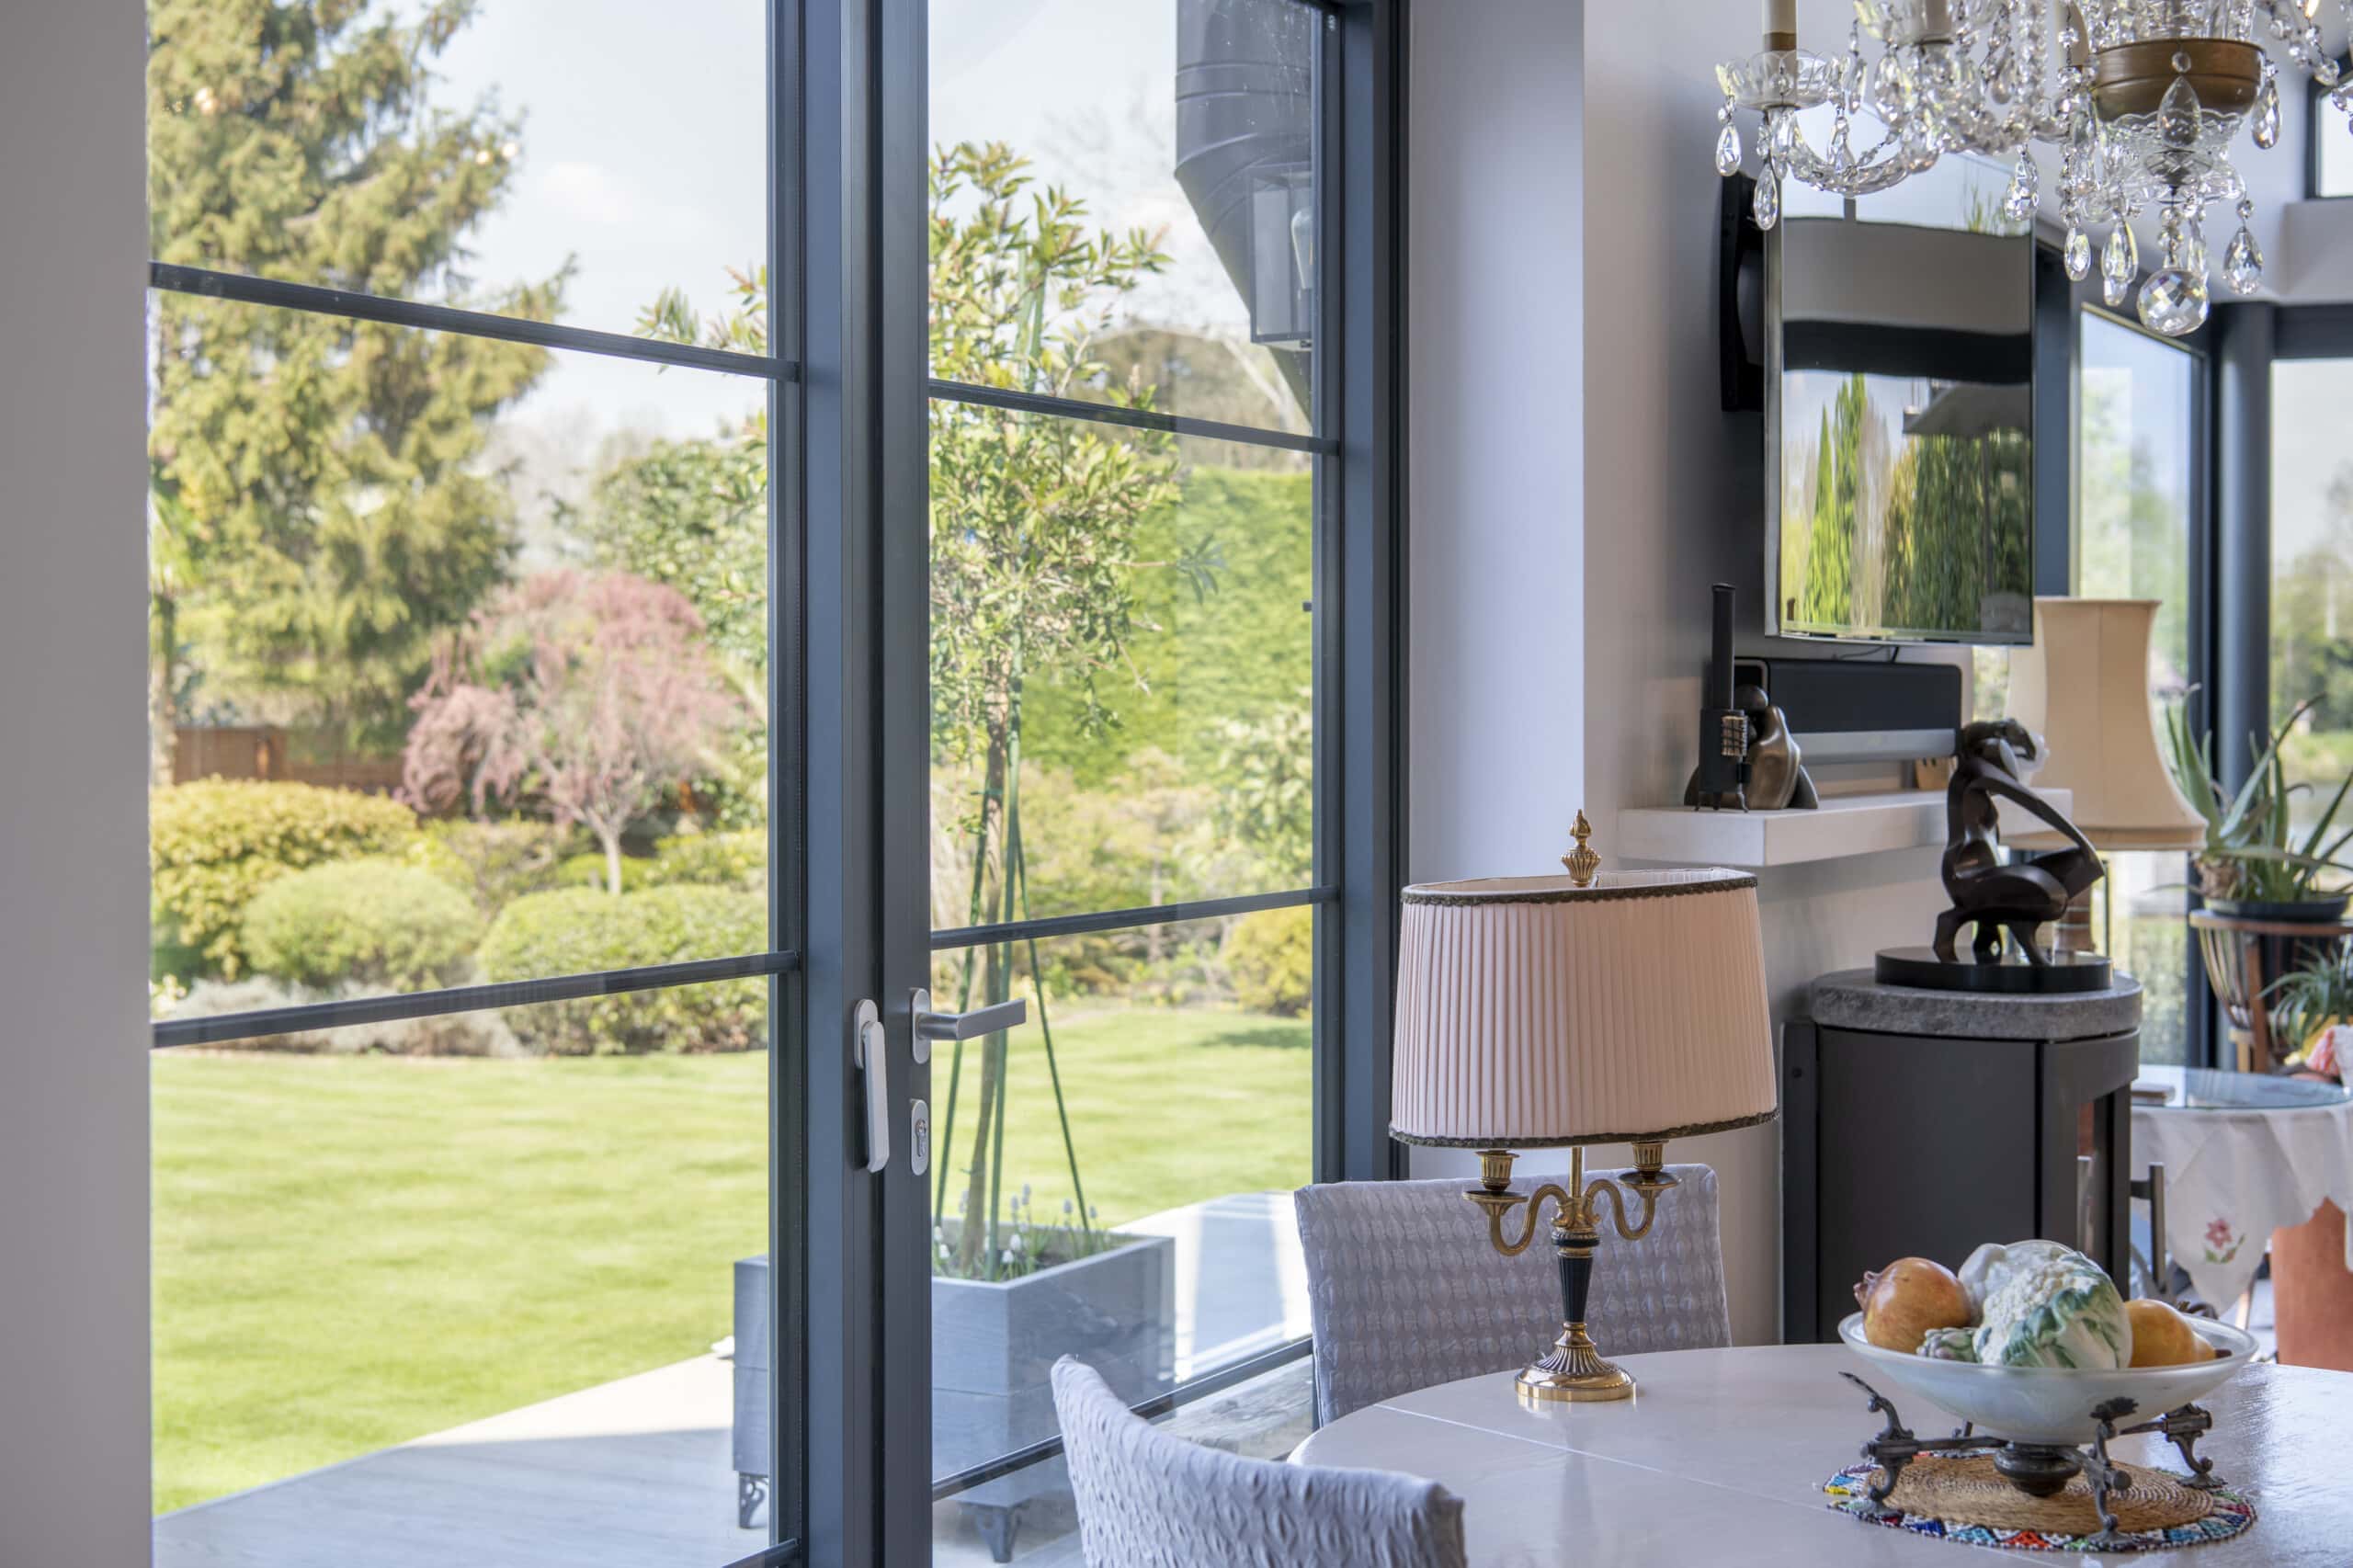
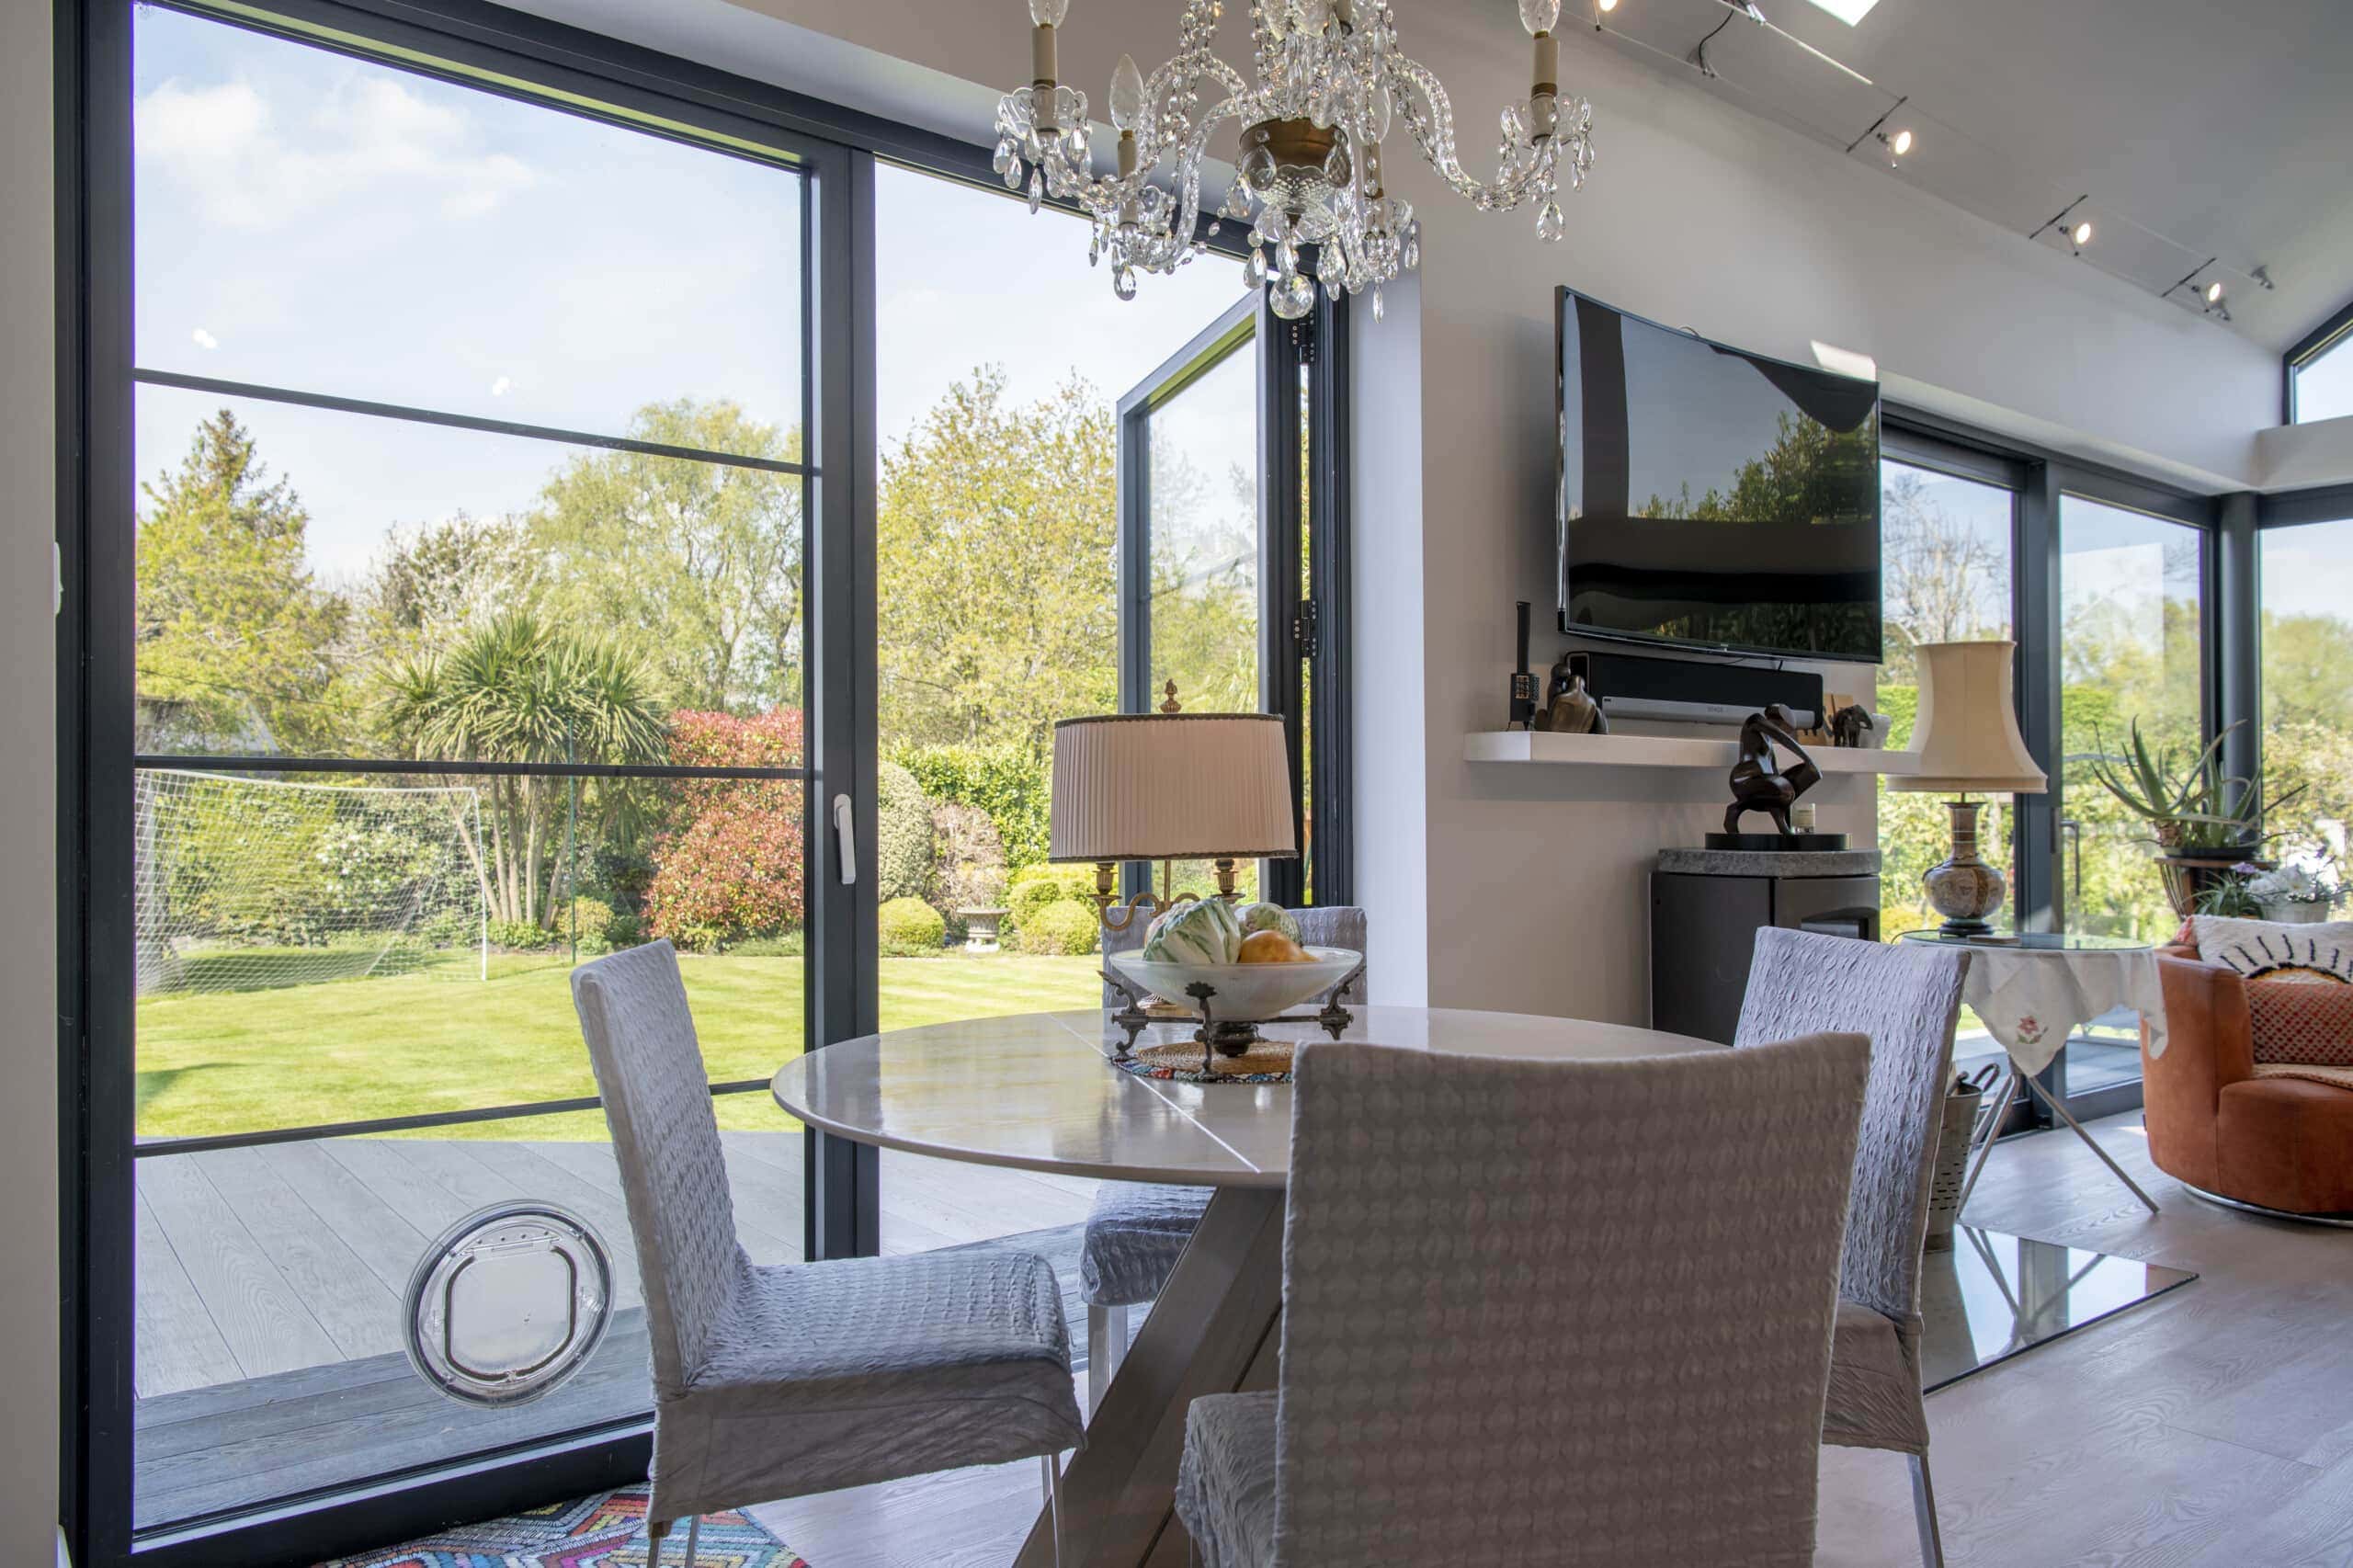
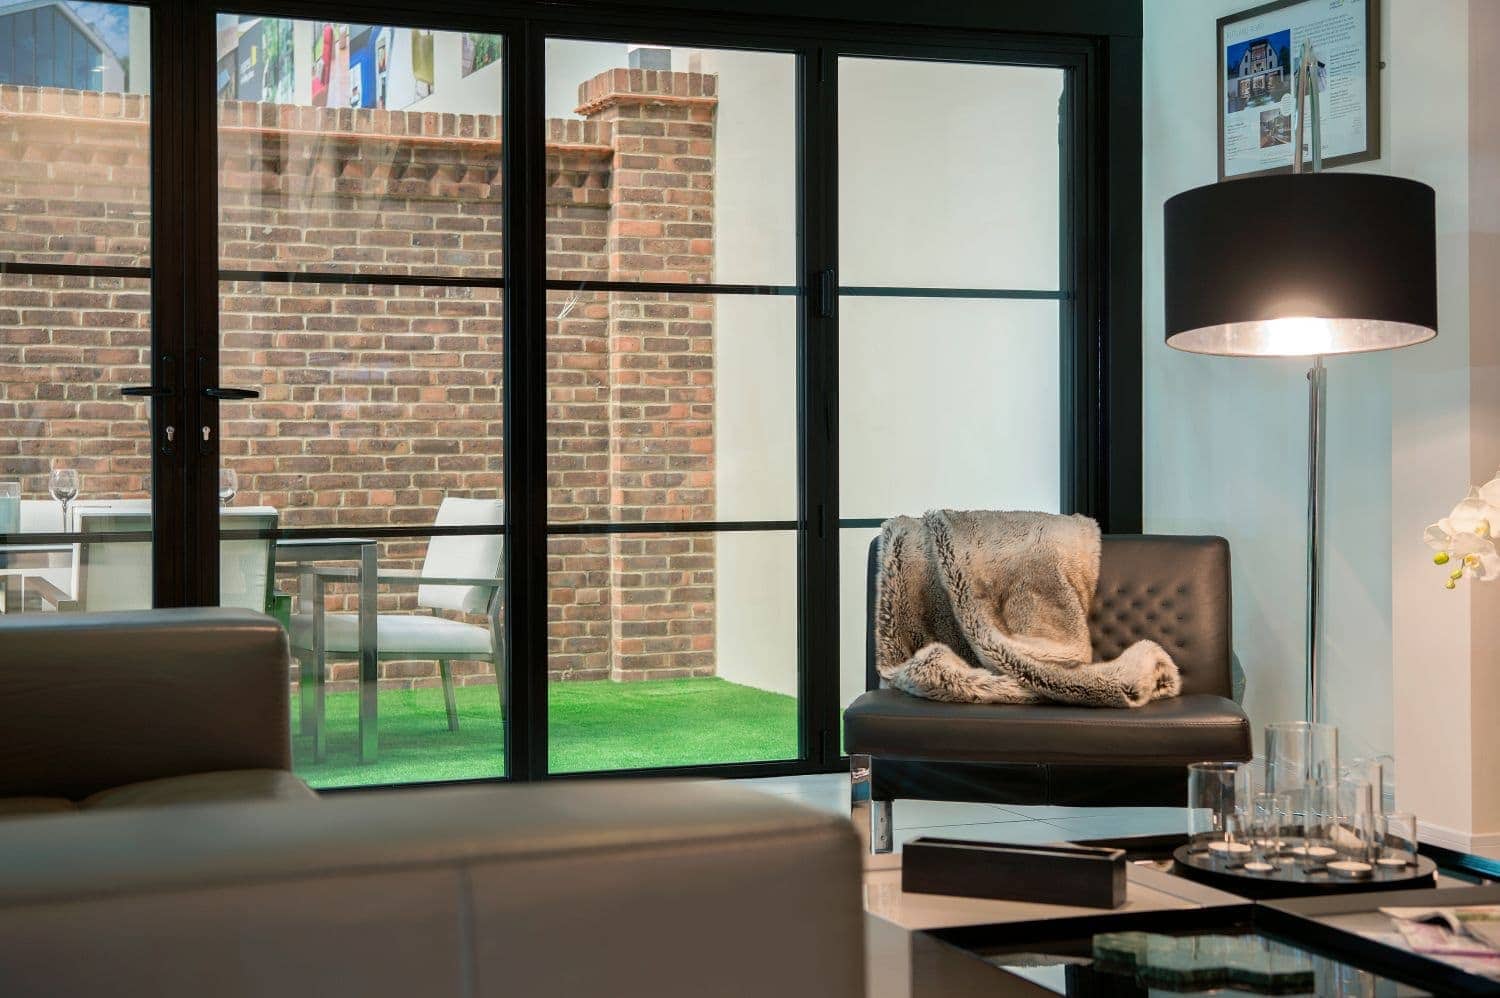
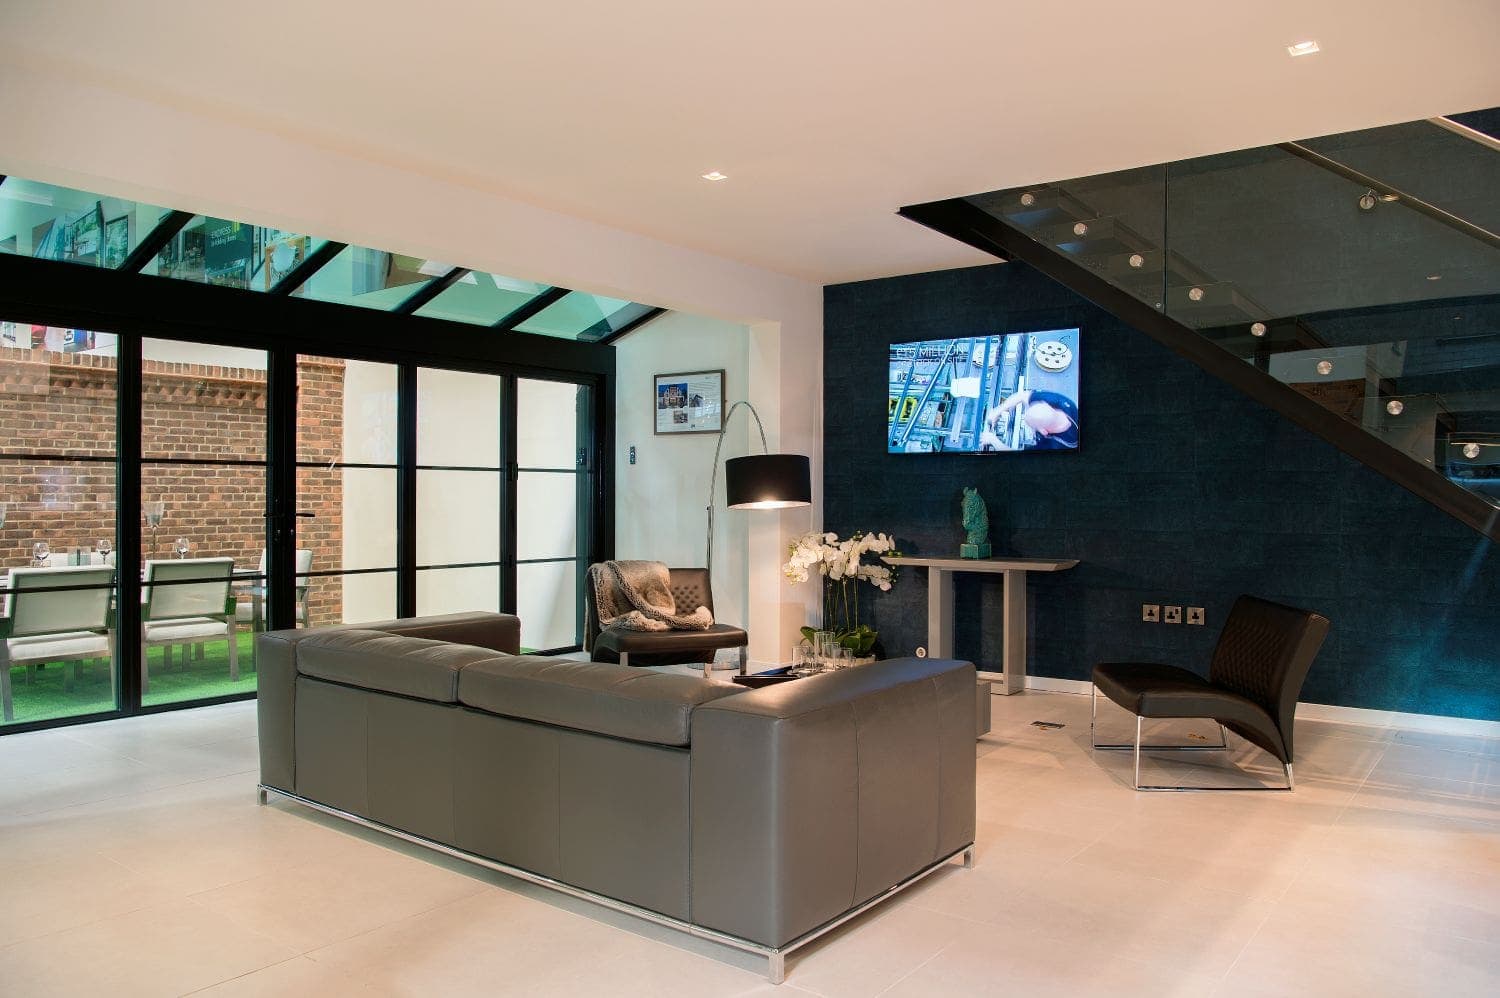
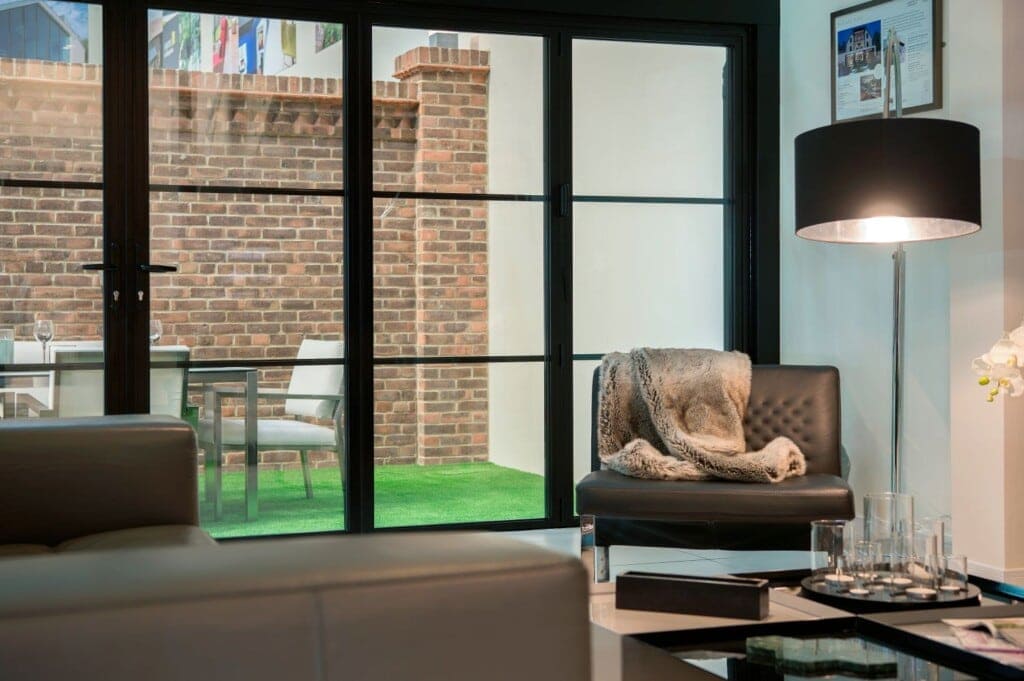
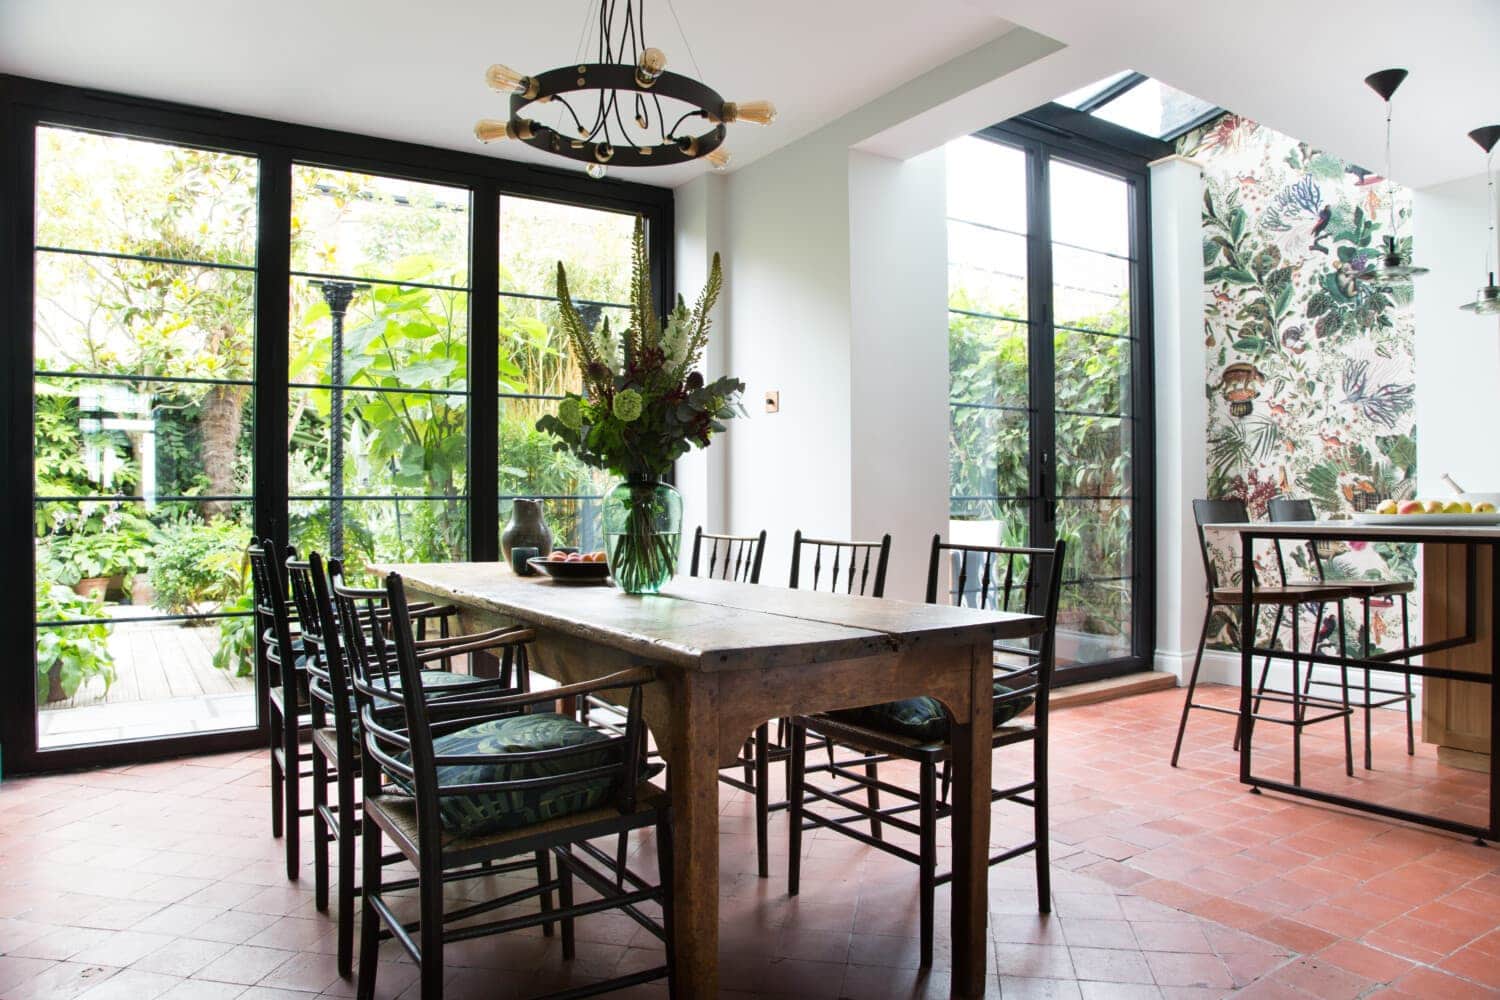
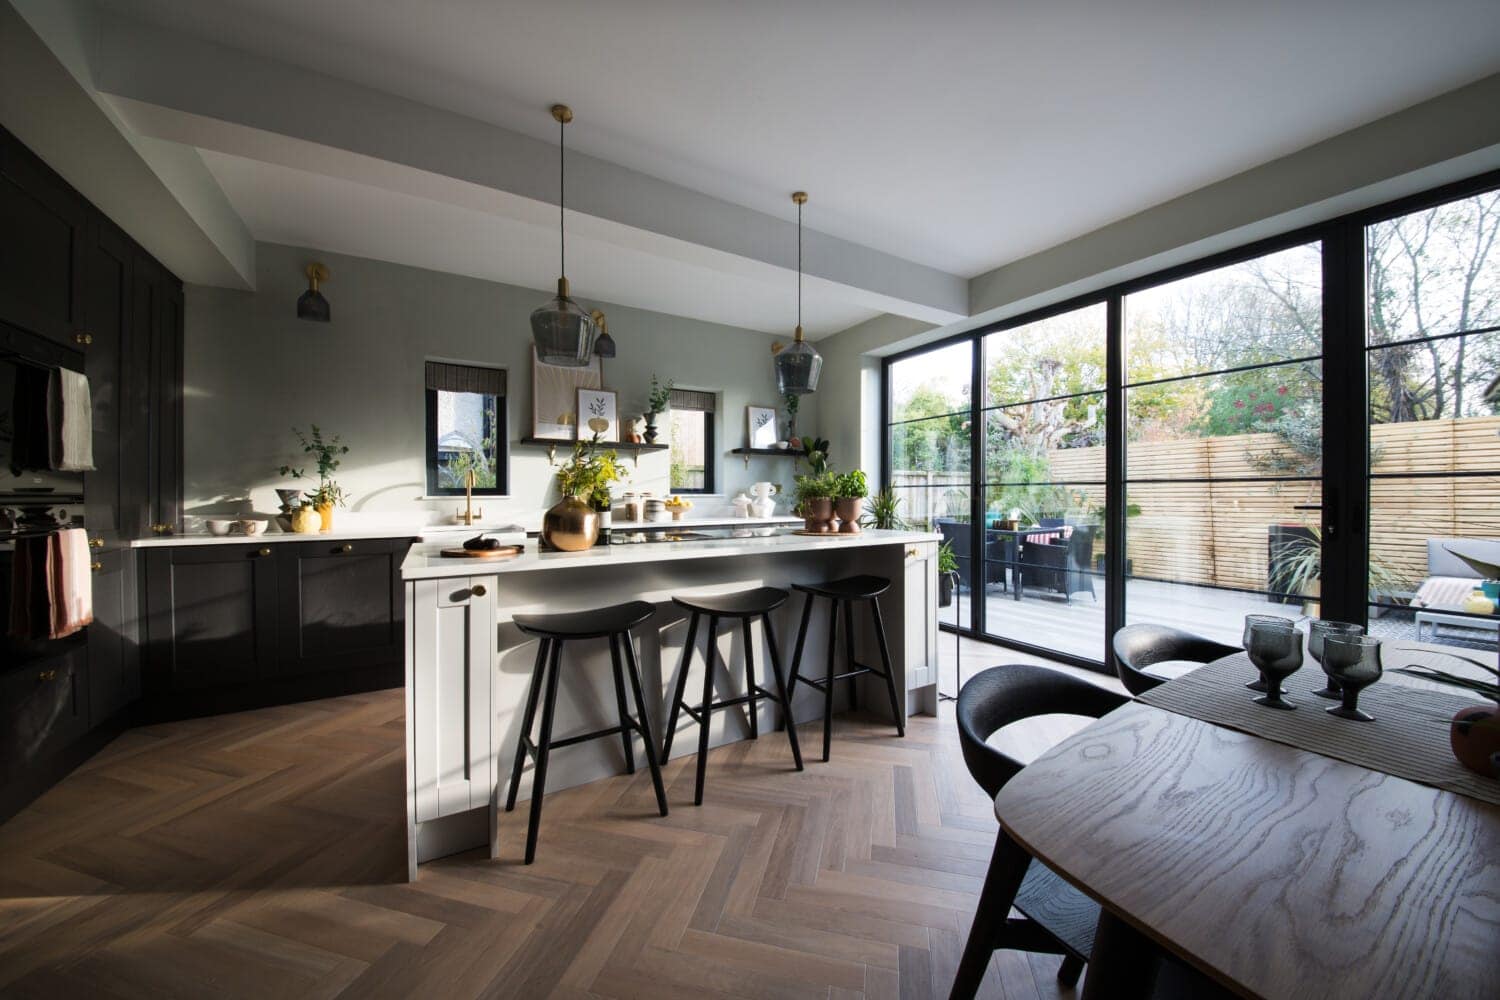
The increasingly popular steel look derives from the industrial mill buildings of the 1800’s where tall & slim-framed steel doors and windows combined with high ceilings to create the template for today’s industrial look. The steel look renaissance began in the glamorous homes of LA and wider California, statement slender doors perfectly suited for large apertures and a warm climate that has led to a demand for a similar aesthetic right here in the UK. Steel-framed doors are very expensive and very cold, which is why aluminium is a more suitable material for large format doors and windows. Aluminium does however boast the same visual benefits such as slim profiles and the ability to create wide and tall doors and windows.
Size options
The sizes displayed on our website are the manufacturing sizes for the doors themselves, this includes the overall height from the bottom of the cill and the overall width of the product itself. We offer three panels through to six folding door panels with sizes starting from 1800mm wide up to 6600mm wide so we have a vast range of size options to suit openings large and small.
The masons opening where the door needs to be installed into needs to be slightly larger so the door can be installed level and plumb into the opening. Read the section below on ‘preparing for bi-folds installation’ for information on measuring and preparing the opening for your new bi-folding doors.
Opening type options
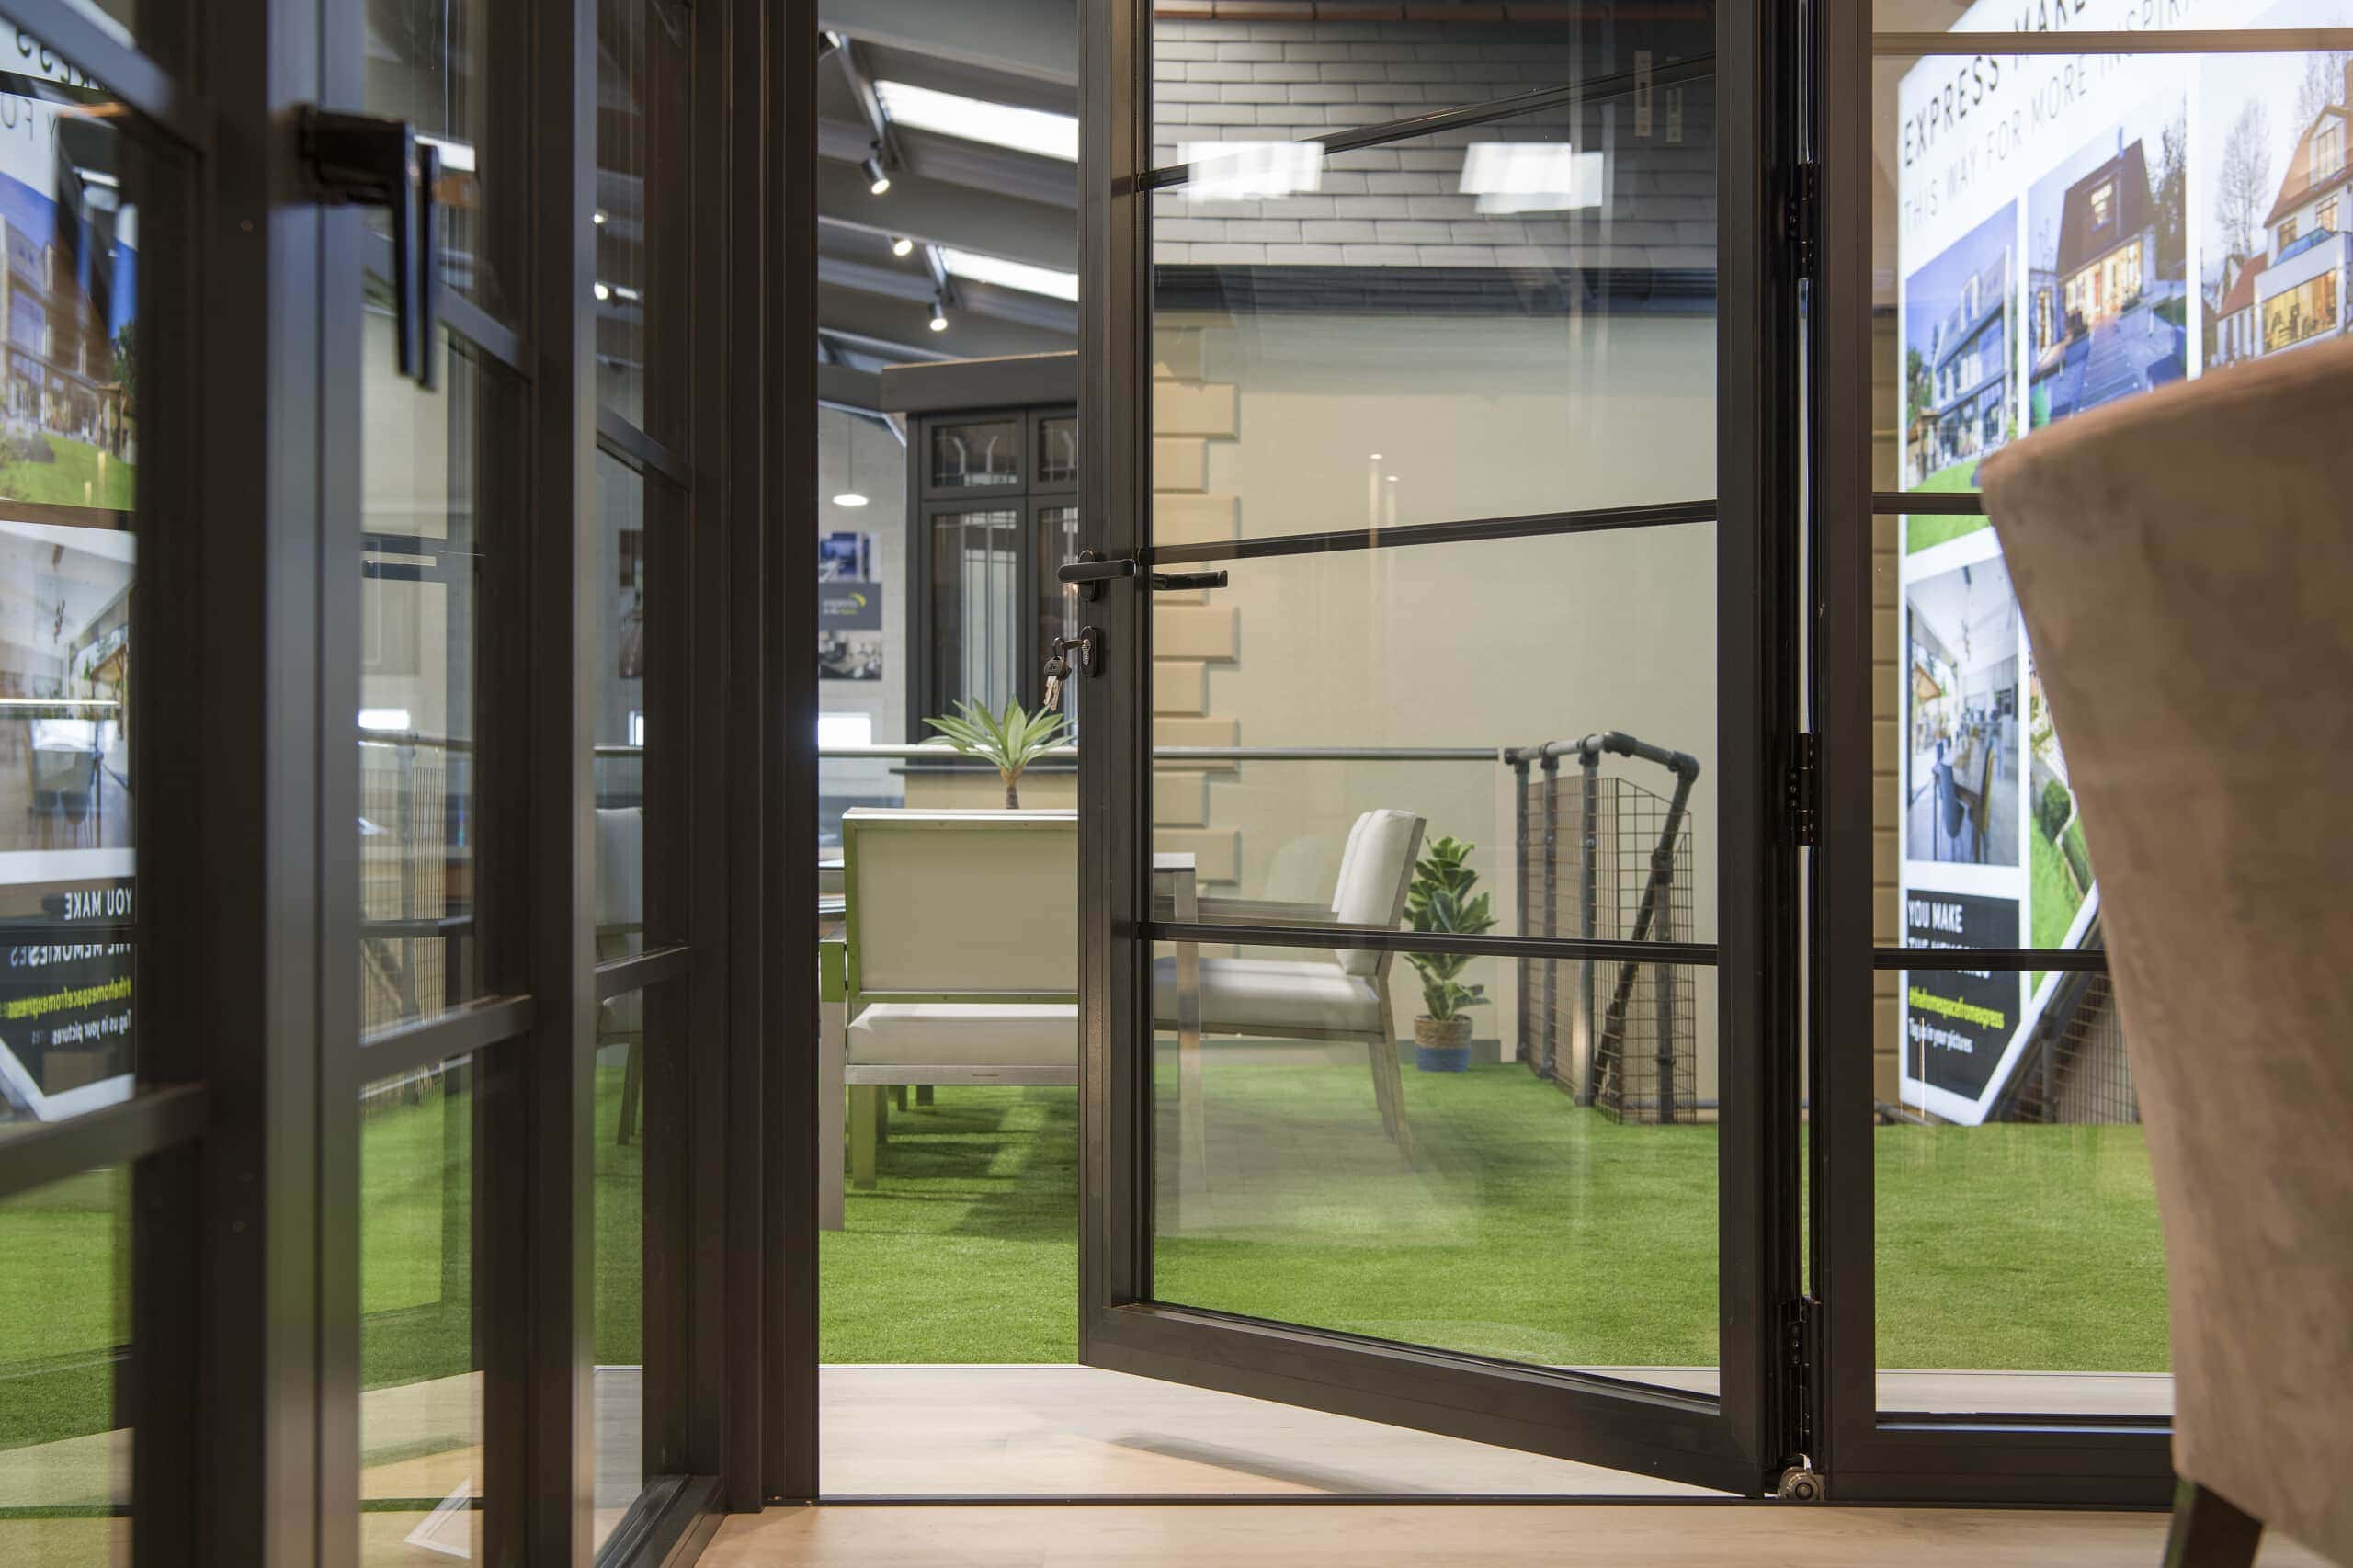
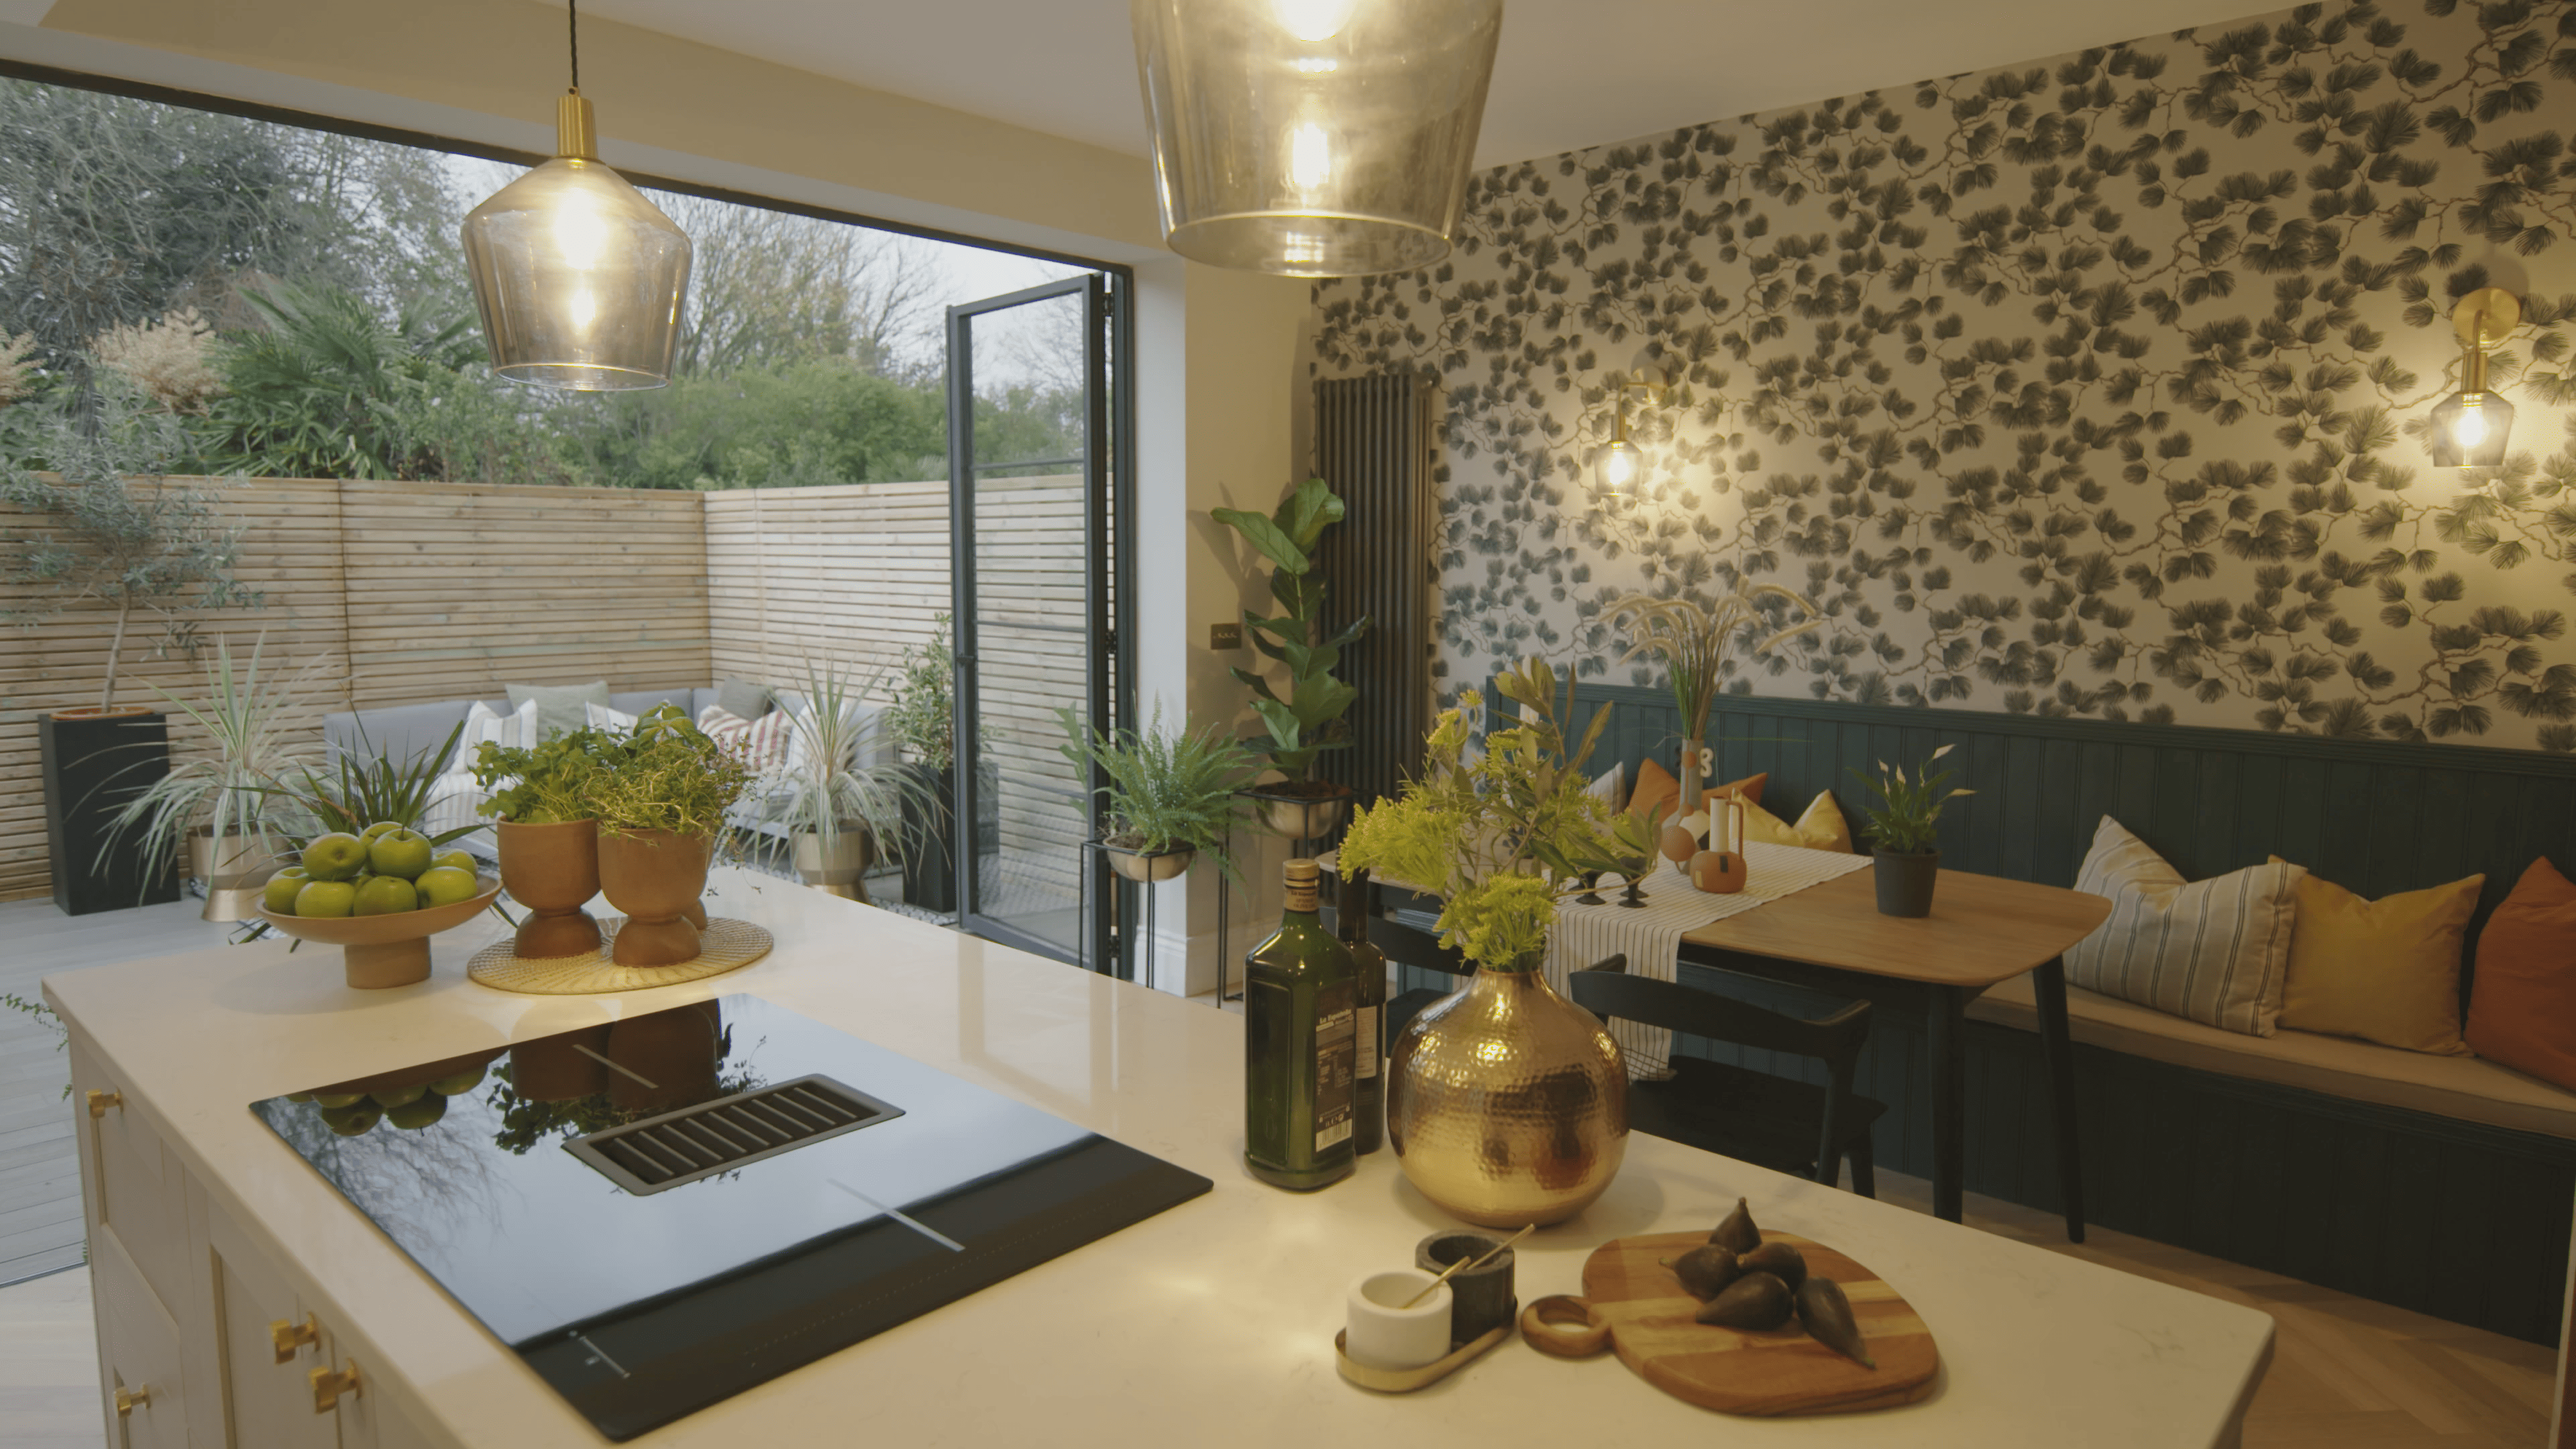
Our doors all open outwards with the panel folding & stacking outside of the house into the garden.
It is important to note that the opening types are all viewed from the outside. The easiest way to select how you want the doors to open is to stand in the garden looking at your house. This is how we view the doors when picking the correct opening configuration.
Frame colour options
The doors themselves are solely available in RAL 9005 Jet Black to create the popular Crittall style aesthetic.
Black gaskets & hinges
The gaskets within our XP10 bi-folding doors are always black as this prevents colour fade & discolouration. The door comes with discreet pencil hinges, which sit in-line with the gaskets. To ensure they aren’t noticeable the hinges are always black to blend in with the gaskets. For this reason, black & anthracite grey tend to be our most popular colours.
Handle colour
You can match the handles in with the chosen colour for your new XP10 bifold door.
Black is the perfect handle colour as it blends into doors in a RAL 9005 jet black finish.
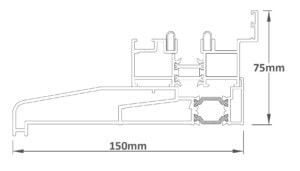
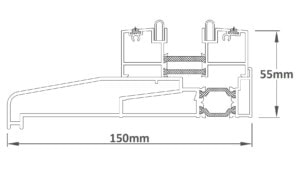
Threshold options – Both bottom track options are sat on a 150mm external cill
Rebated Bottom Track -weather rated & recommended option
The rebated bottom track option creates a proper weather seal as the door panel closes against the rebate. From the underside of the cill to the top of the internal rebate the measurement is 75mm so the internal floor level can be sat almost flush against the top of the rebate to create a seamless transition from inside to out with a flush internal floor finish.
Low Threshold Bottom Track – brush seal option
The low threshold option does not have a rebate for the door panel to close against so the seal is created by two rows of brush seals under the door panel. The brush seal is not as effective as the full rebate so we strongly recommend the rebated option. The low threshold option is 20mm lower so is only worth considering if the doors will not be installed into an exposed area. It is also worth noting that because the brush seals scratch the profile that the low threshold is available in silver anodized only, so is a different colour to the cill & the rest of the bi-folding door.
For the reasons outlined above we strongly recommend selecting the rebated threshold for your XP10 doors.
Integral blind options
Integral blinds are the ideal solution for bi-folding doors. We offer sliding venetian blinds in three different colours.
To learn more about internal blinds options visit the integral blinds & glazing options page on our website.
To add integral blinds to your order simply choose the colour of your choice from the three options available.
GLAZING
We offer 28mm toughened softcoat low E glass as standard with 3 x dark Georgian bars inside the class to create the distinctive Crittall style appearance.
Laminated glass is a requirement for new build homes under the Part Q building regulations but it is not a legal requirement for replacement installations.
We recommend laminated glass if you have security concerns or will require your installation to be signed off by building control. To change the glass in your bi-folding doors from toughened to laminate glass simply click on the laminated glass icon.
To learn more about laminated safety glass and whether it is required for your home visit the glazing options page on our website.
Built up on delivery
For sizes up to 3300mm in width your doors will be delivered built up in one piece, unless you advise us otherwise.
When built up the doors are heavy so our driver will need assistance when unloading the product when it is delivered. The doors are also heavy to install so cannot be installed by one when individual when they are delivered built up.
For door sizes wider than 3300mm the product will be delivered disassembled in a kit format.
Fitters pack
General glazing tools are required to install the XP10 bi-folding doors, our fitters pack is available to ensure you have the correct materials to properly install the bi-folding door. The XP10 fitters pack includes:
- Expanding foam.
- Toe & heeling packers.
- Levelling packers.
- Silicone
- Wingtip steel fixings.
- Concrete fixings.
Maintenance pack
Although maintenance is minimal it is important to look after & maintain your aluminium bi-folding door. Our maintenance pack includes 1 x tube of premium quality glass cleaner, 1 x tube of silicone spray & a none abrasive microfibre cloth.
